Vinyl Record Stand - Part 2
Welcome back to Part 2 of the Vinyl Record Stand build! Check out part 1 if you haven’t seen it.
With the panel glued up, the next step is to prepare the panel to be cut up into its constituent sections, which will form the stand’s back, base, and foot.
Prep the Panel
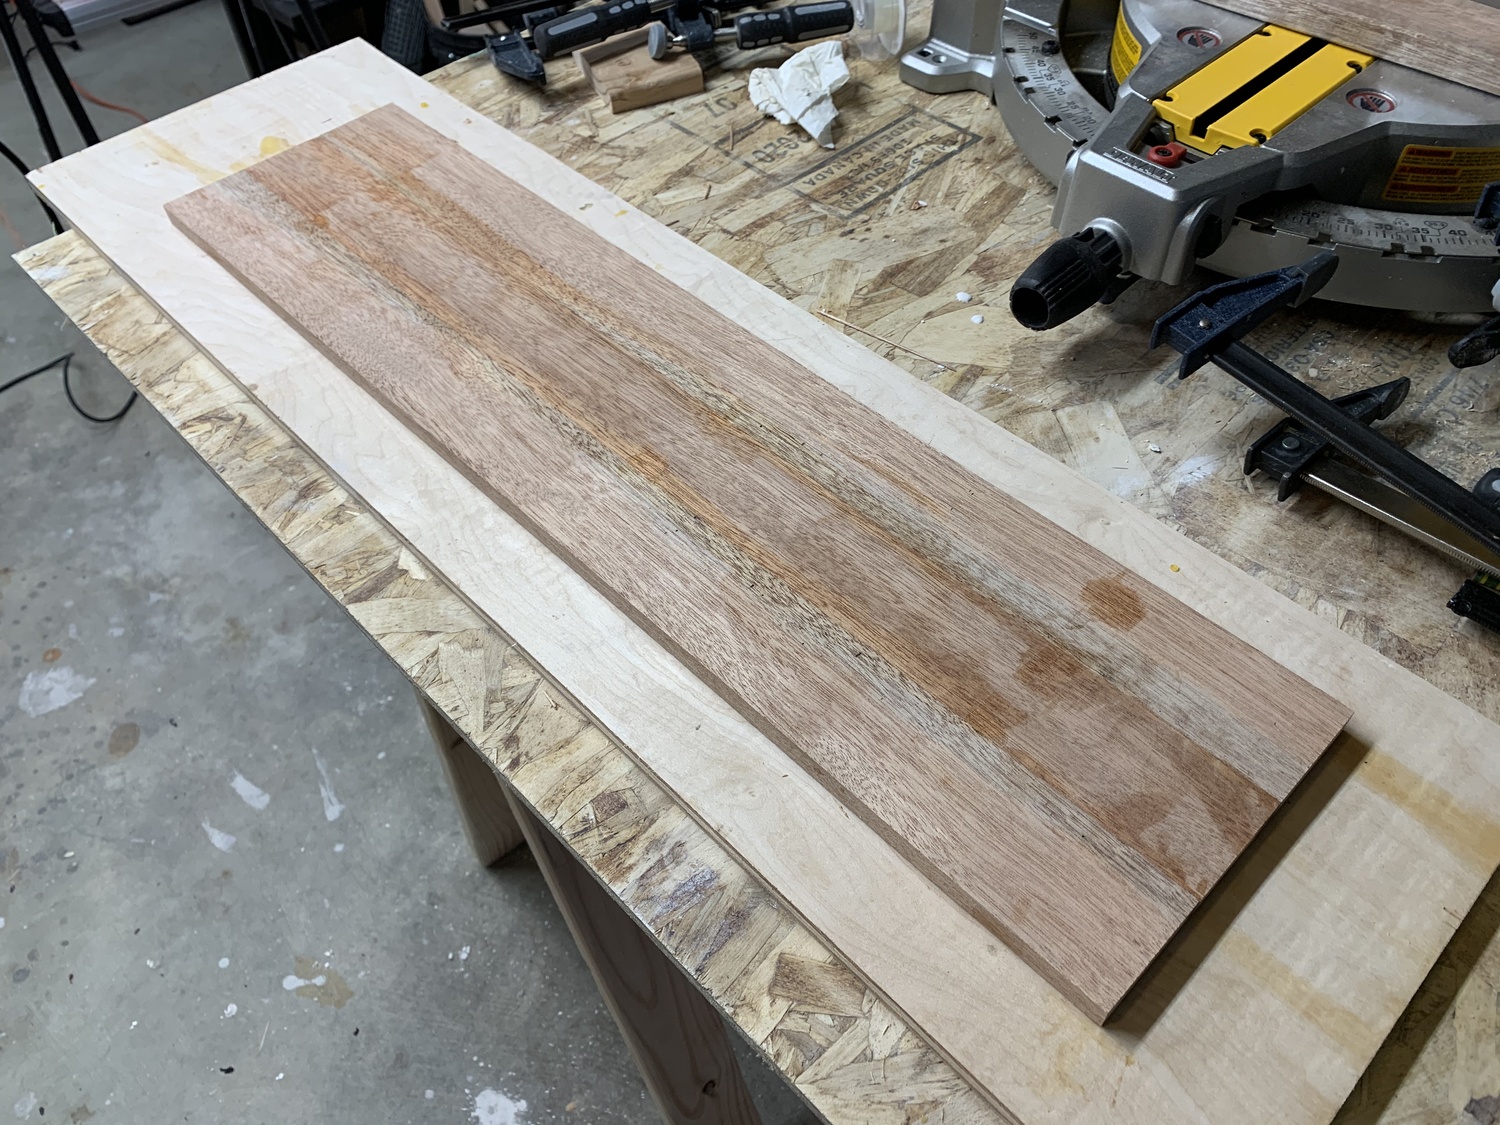
I started with a light sanding of the panel to remove excess glue and to get an idea for what underlying grain patterns are there. The ends are squared up on the table saw, and cut into the lengths needed for the stand.
Cut Angles
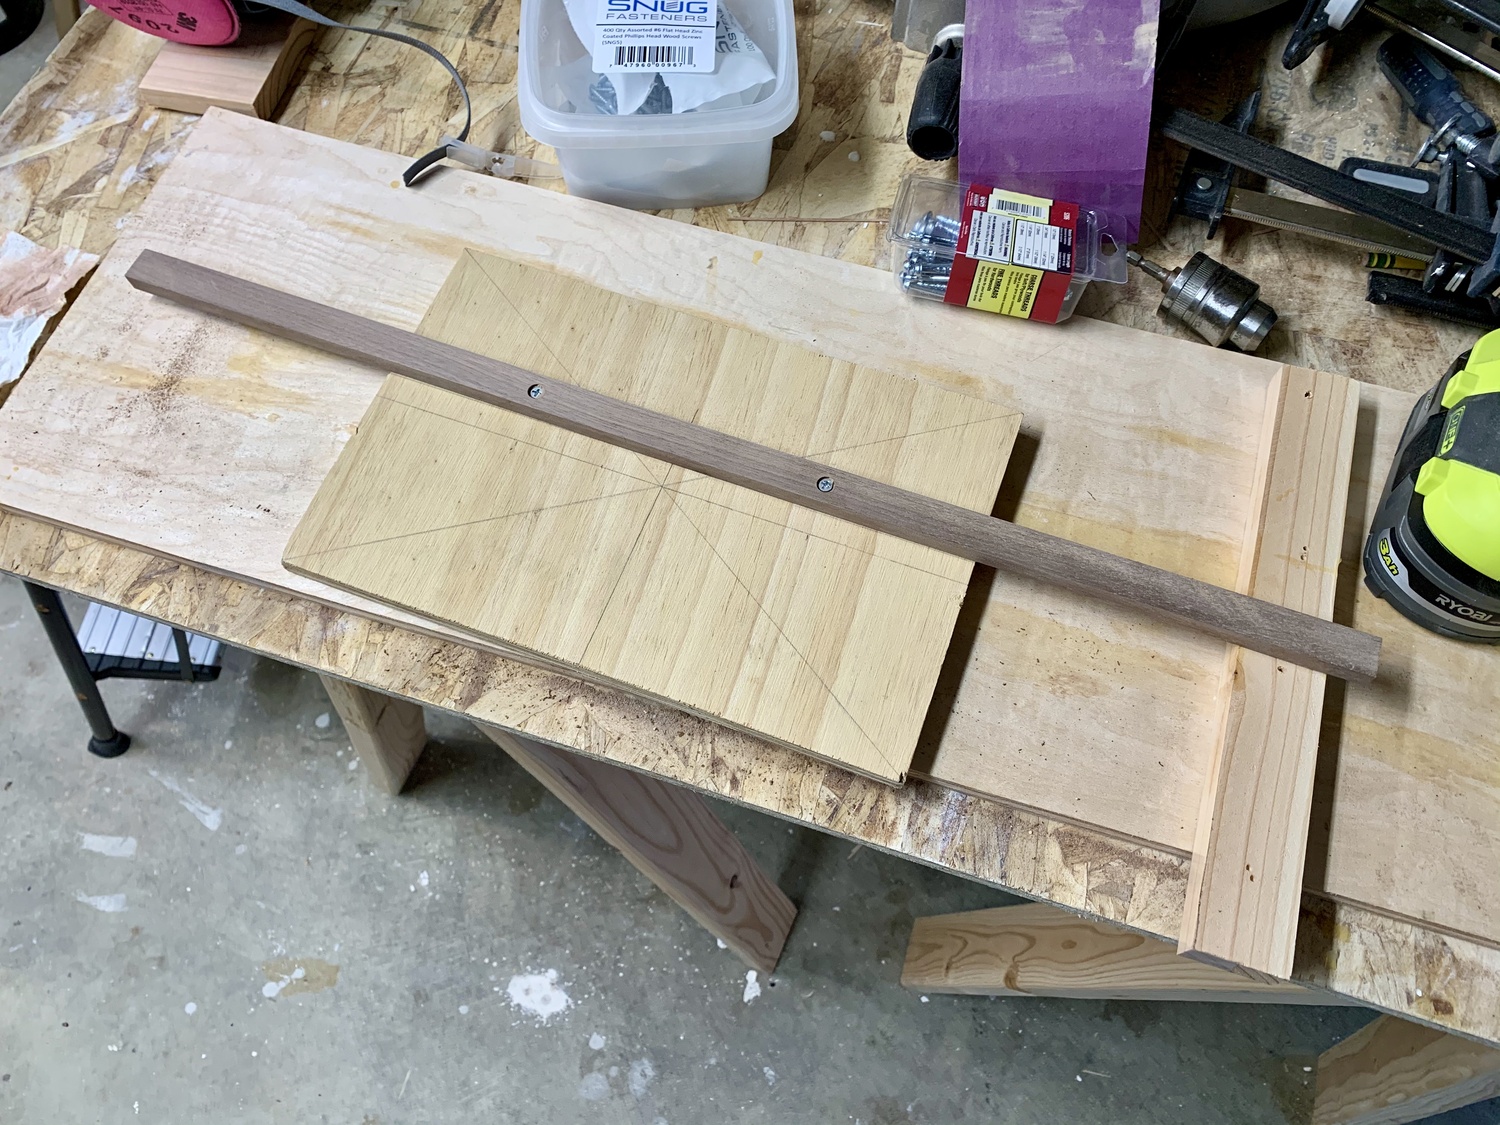
I roughed in the angles with pencil, so at least the direction that the angle should be cut at is obvious and to avoid any errant cuts.
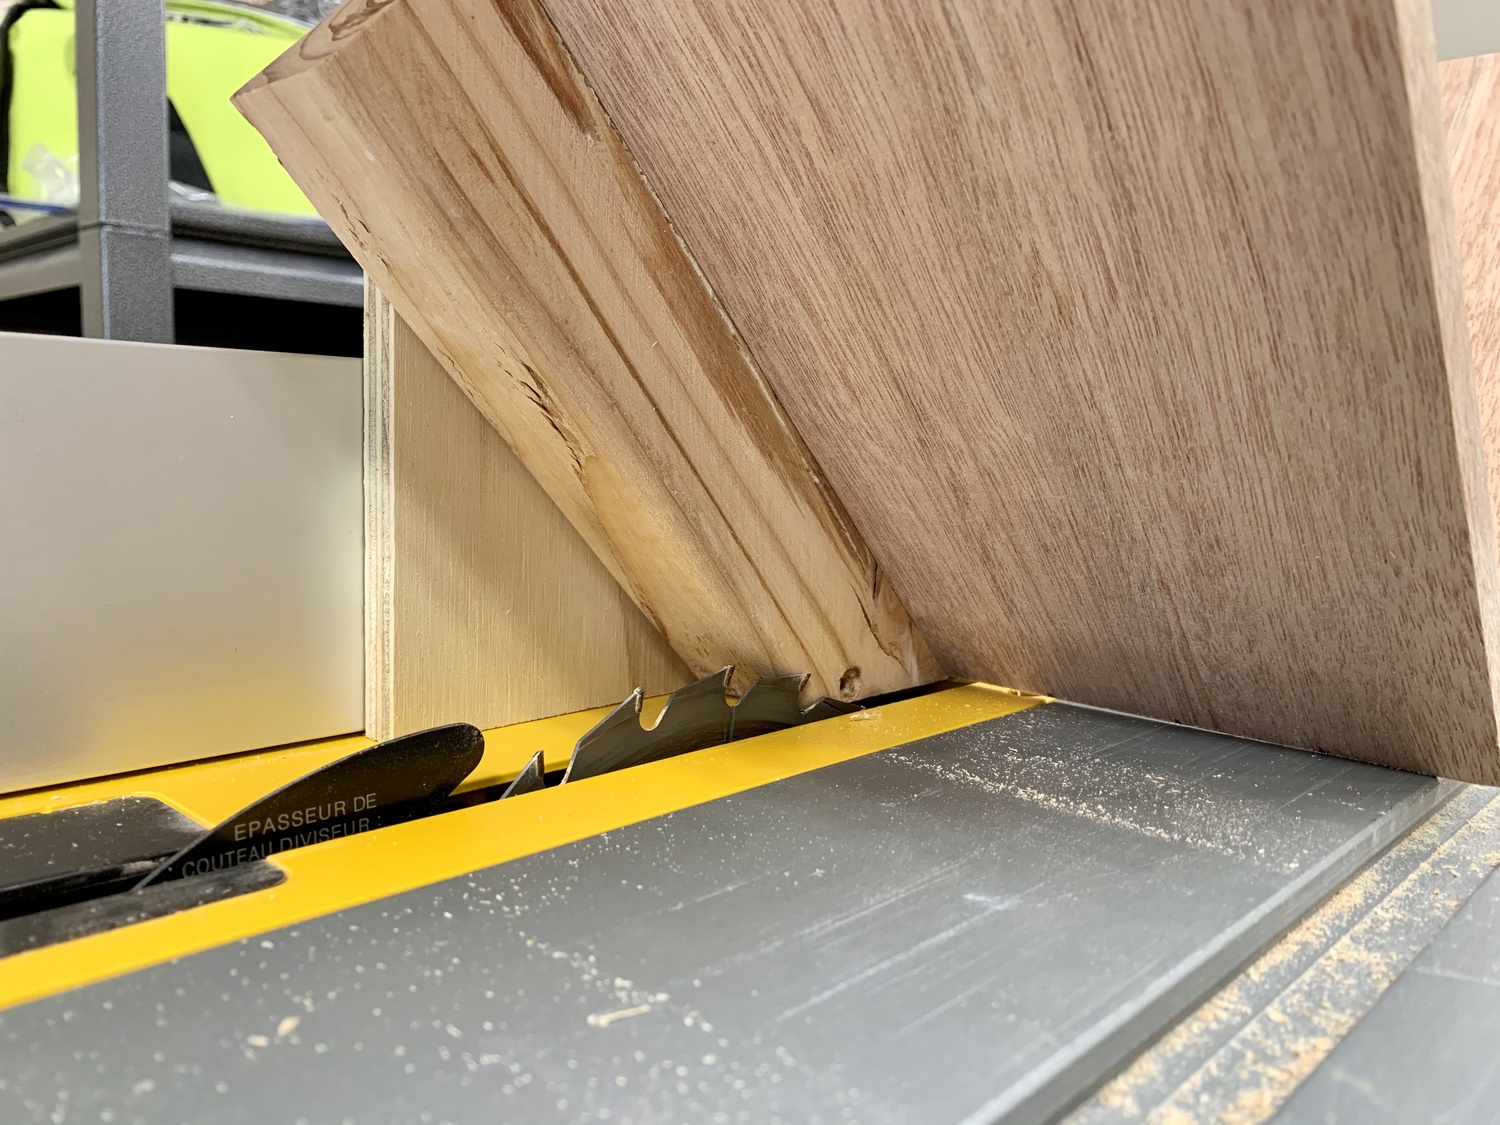
Now the fun part - cutting these angles very square to the edges. For this, I made a quick jig out of scrap plywood, and some conveniently sized walnut I’ve got for just this purpose. The walnut is a hardwood, and works quite well as a jig slide—with a small amount of sanding, it fits very snugly in the miter slides on the table saw, with no side-to-side wiggle.
 |
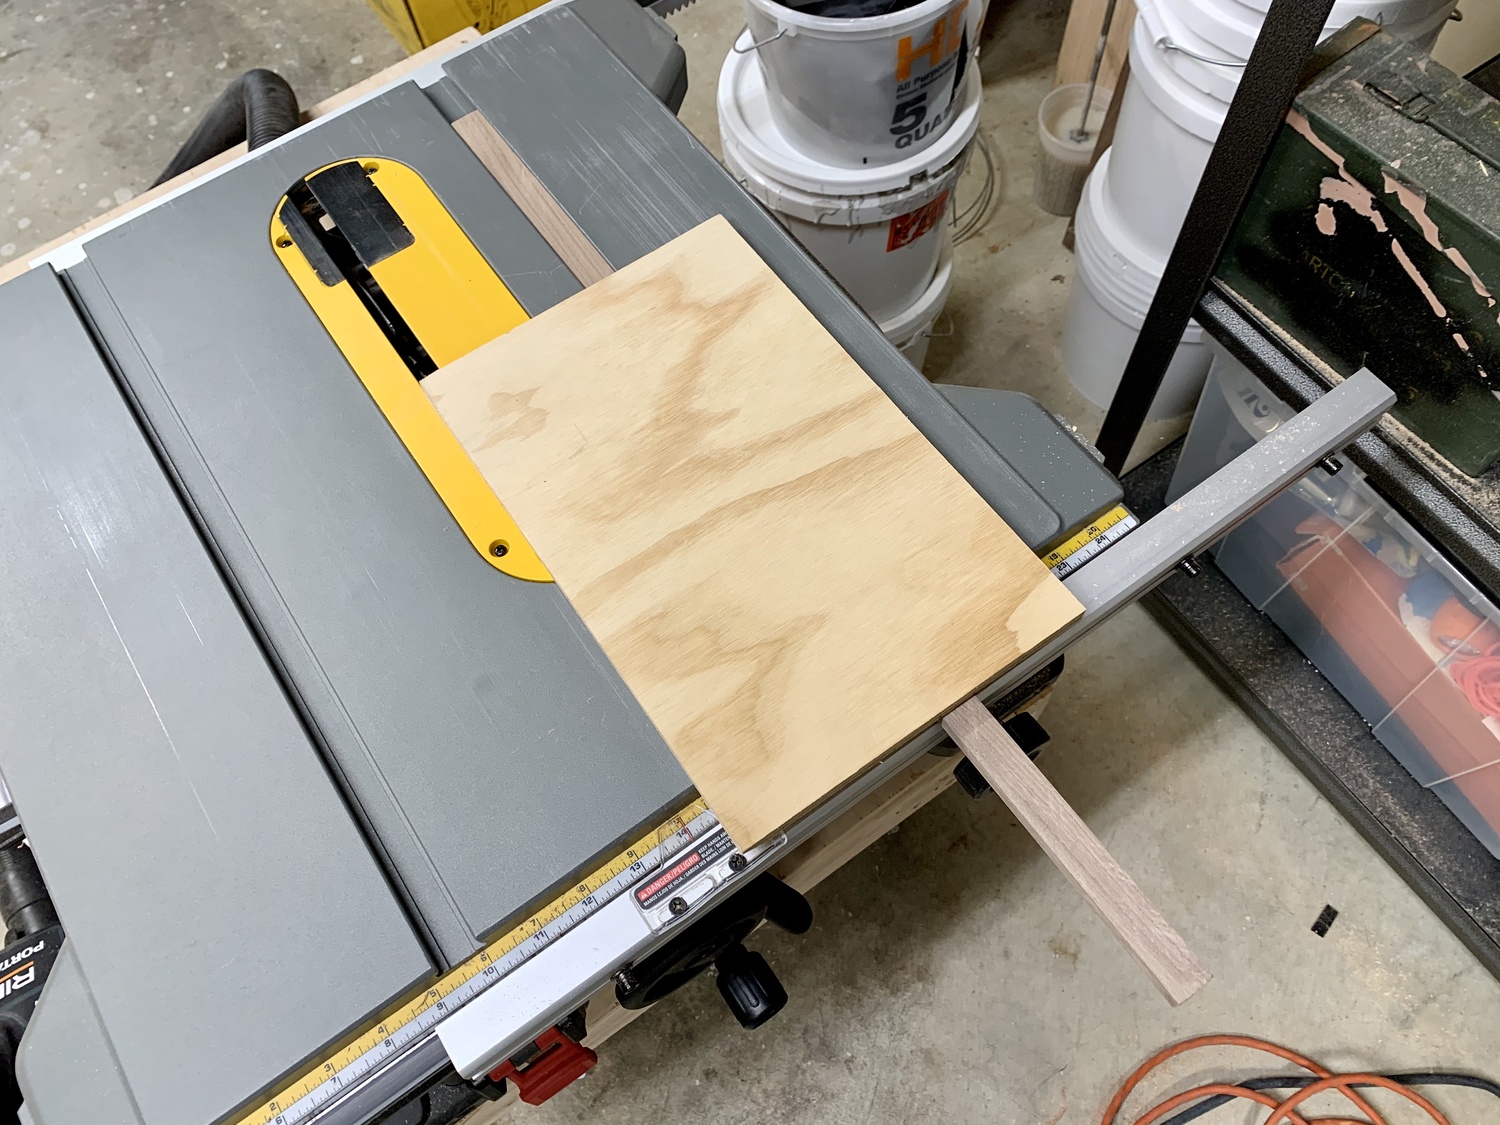 |
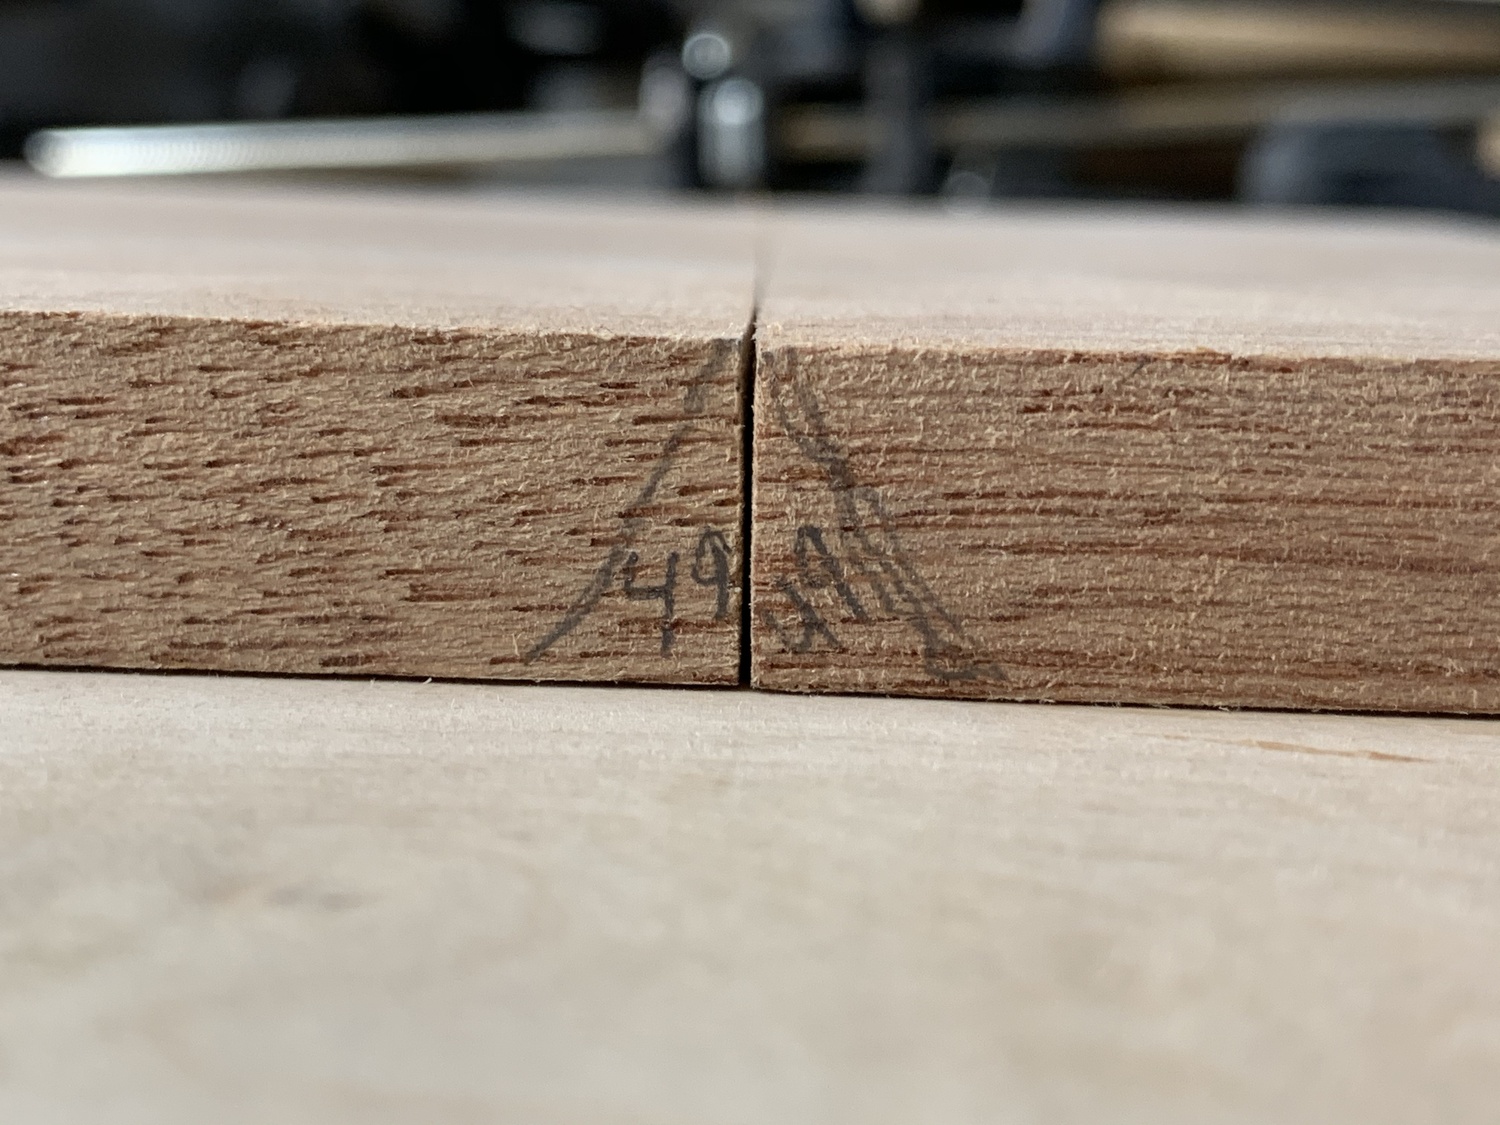
I set table saw to 49 degrees, and cut the angle sled to finish the jig. The jig serves a dual purpose: the edge is perfectly straight against the blade, making for an easy edge to index against, and is zero-clearance to the blade, making tearout minimal.
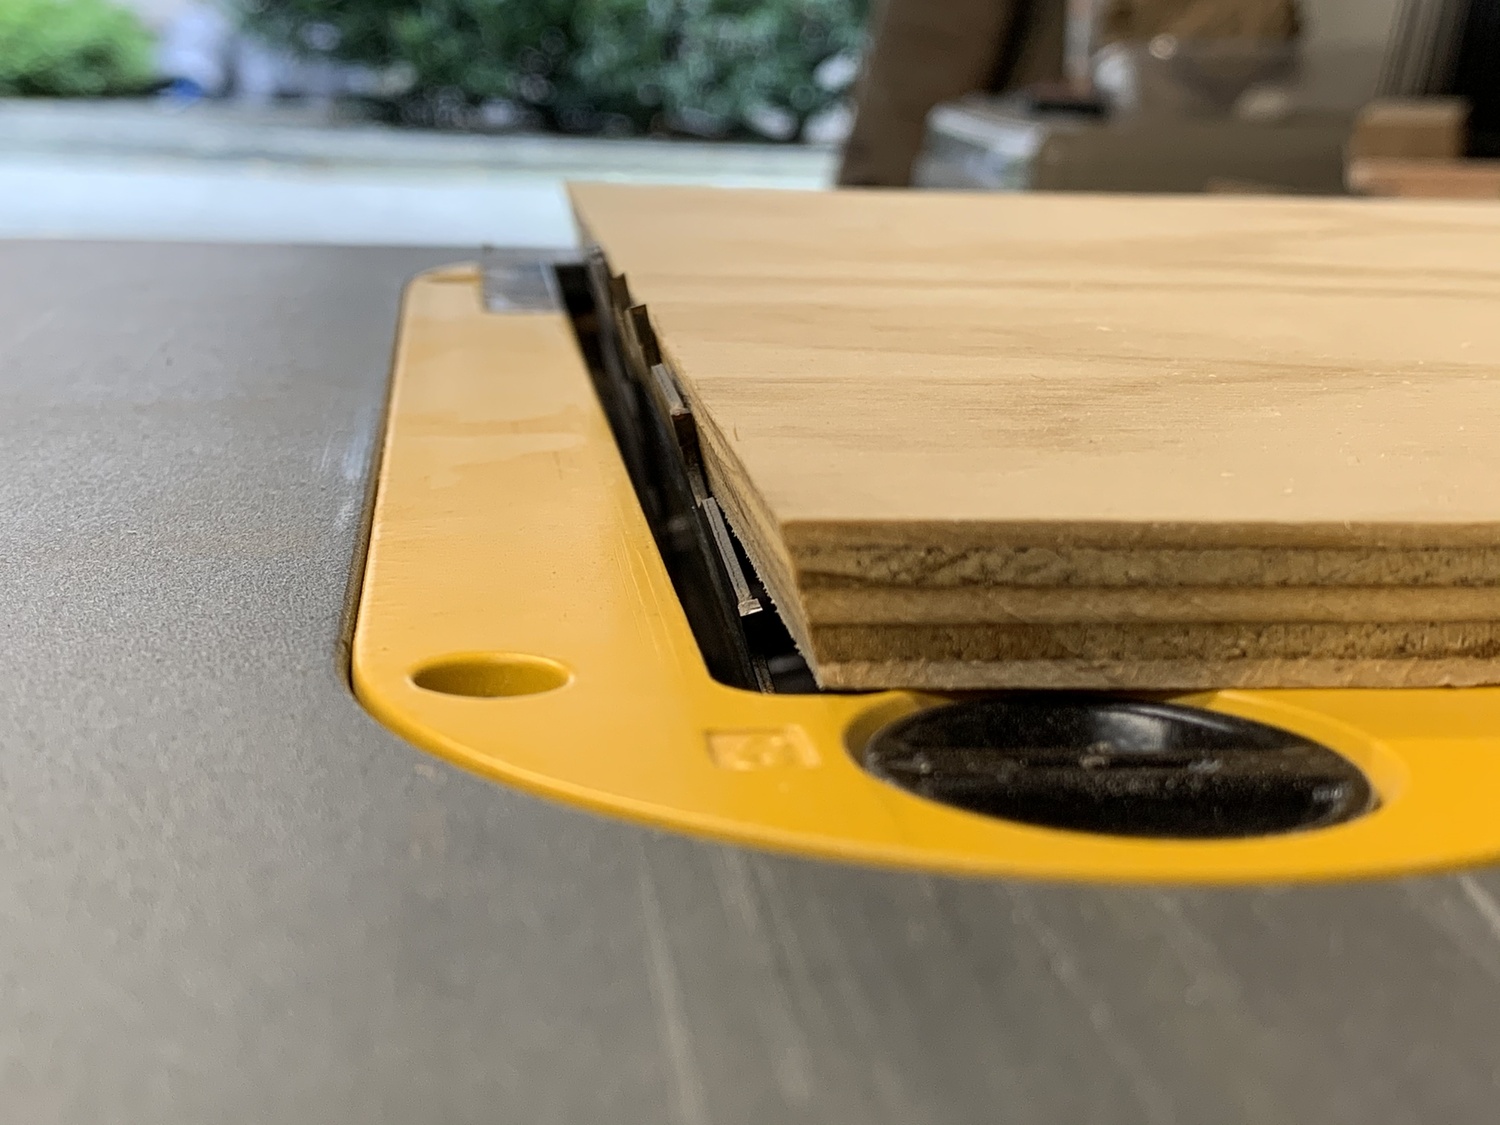
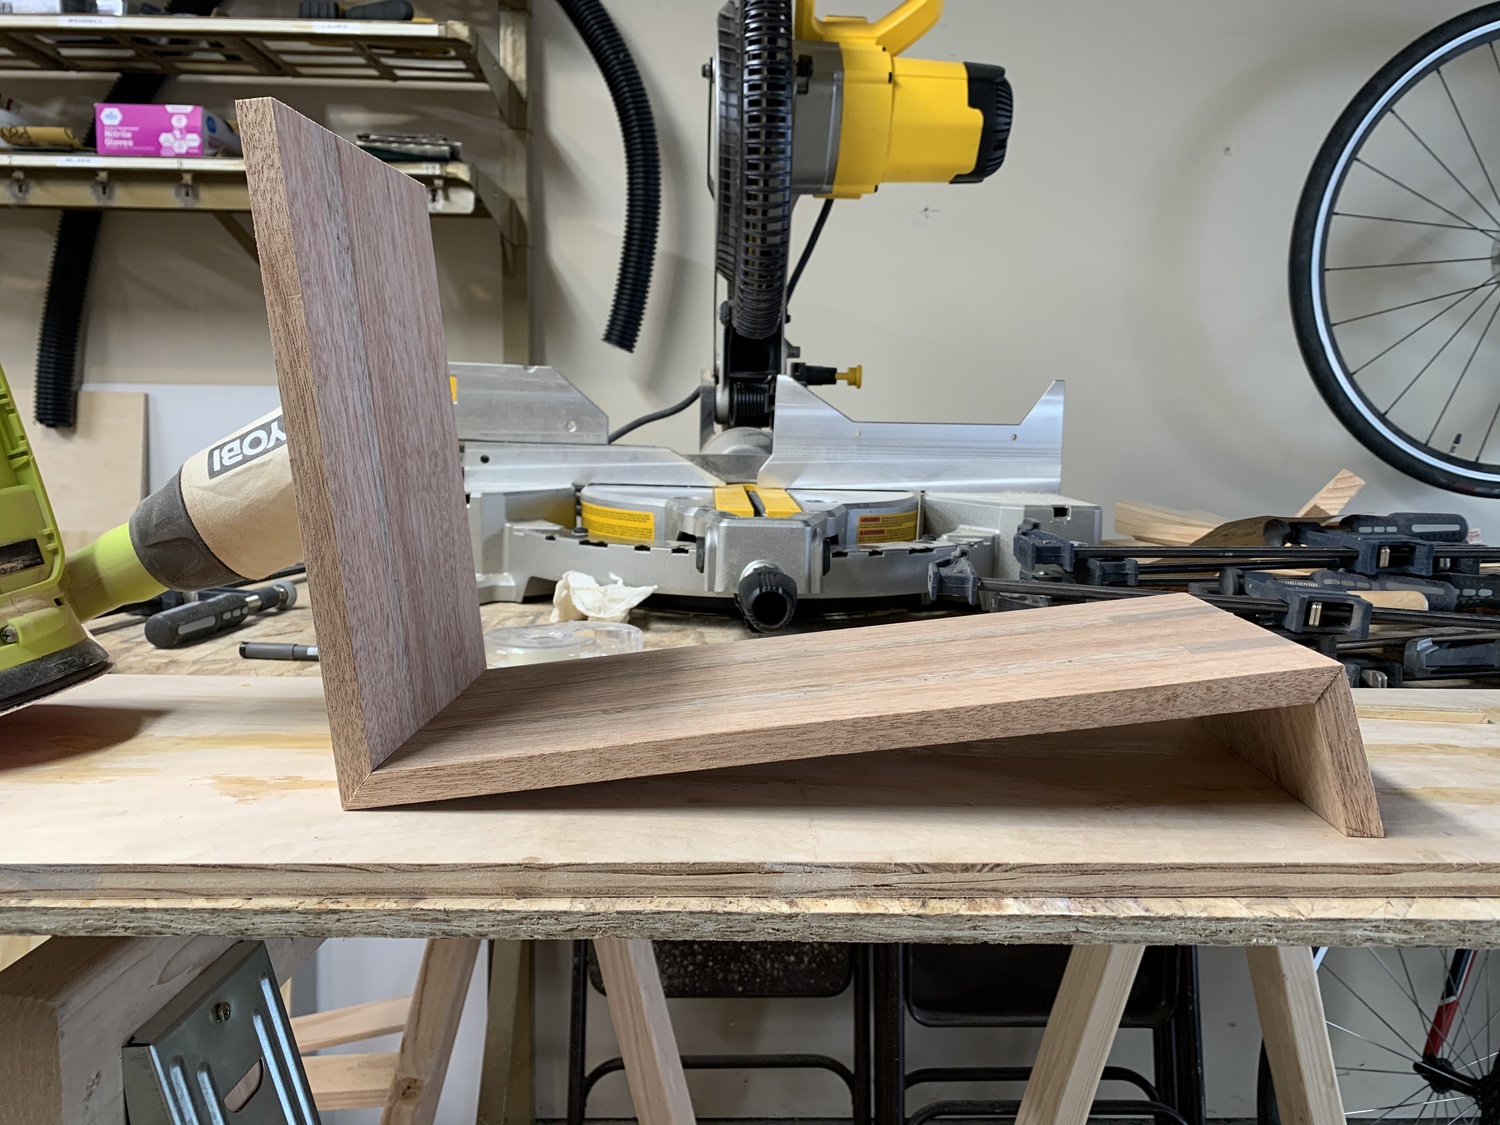
I make two 49 degree cuts, two 45 degree cuts, and one 75 degree cut on the boards. I think the cuts came out pretty clean!
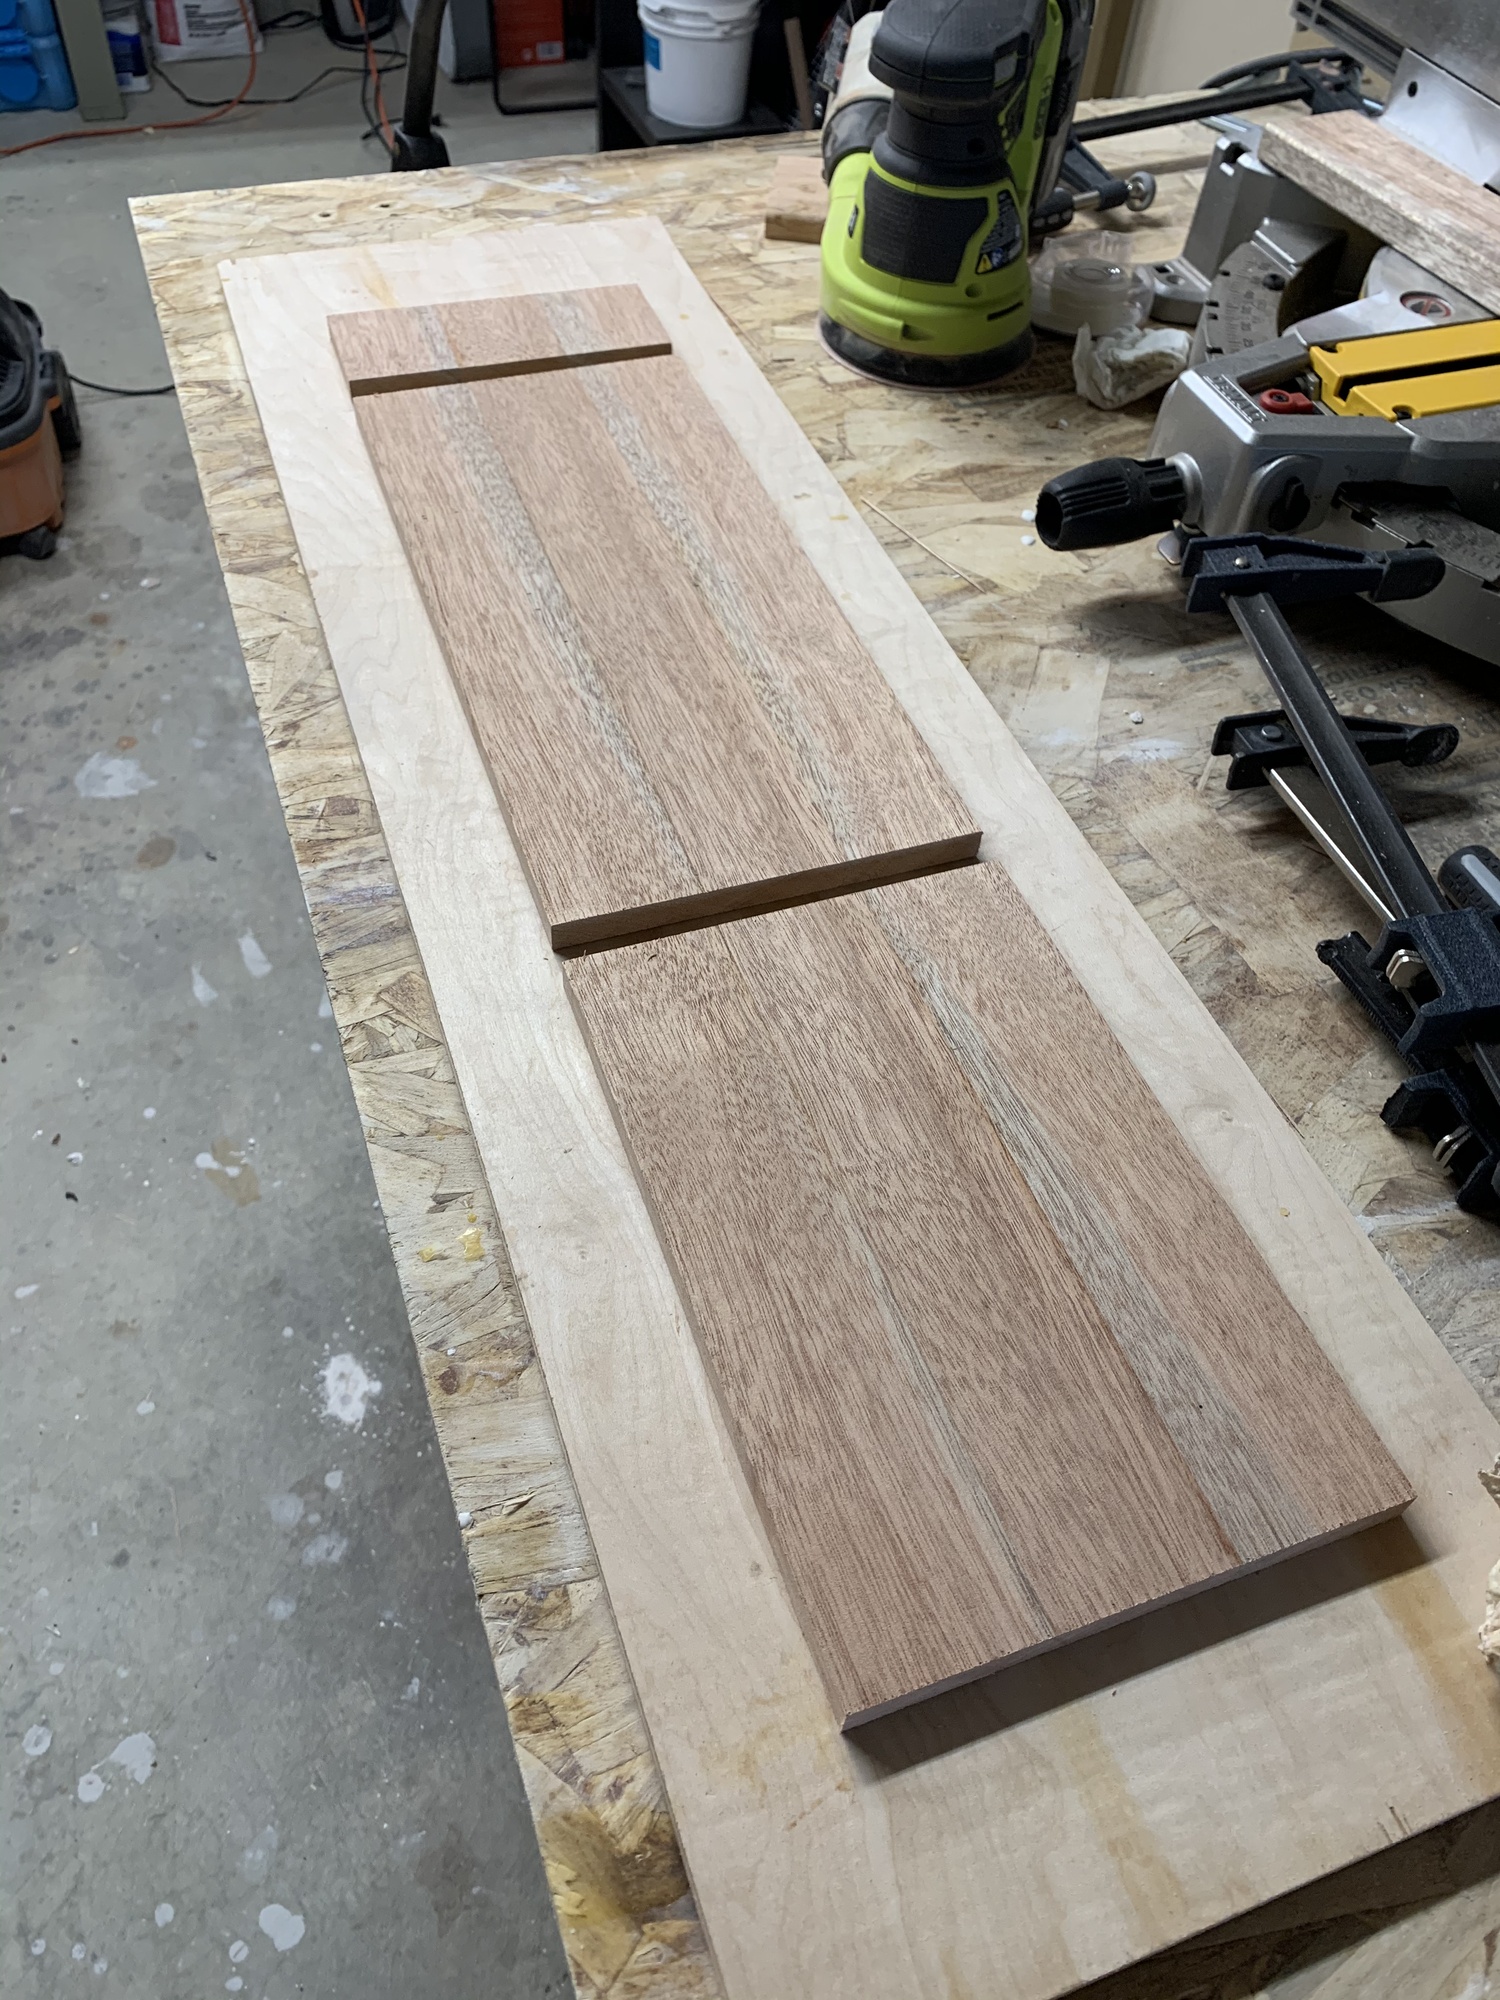
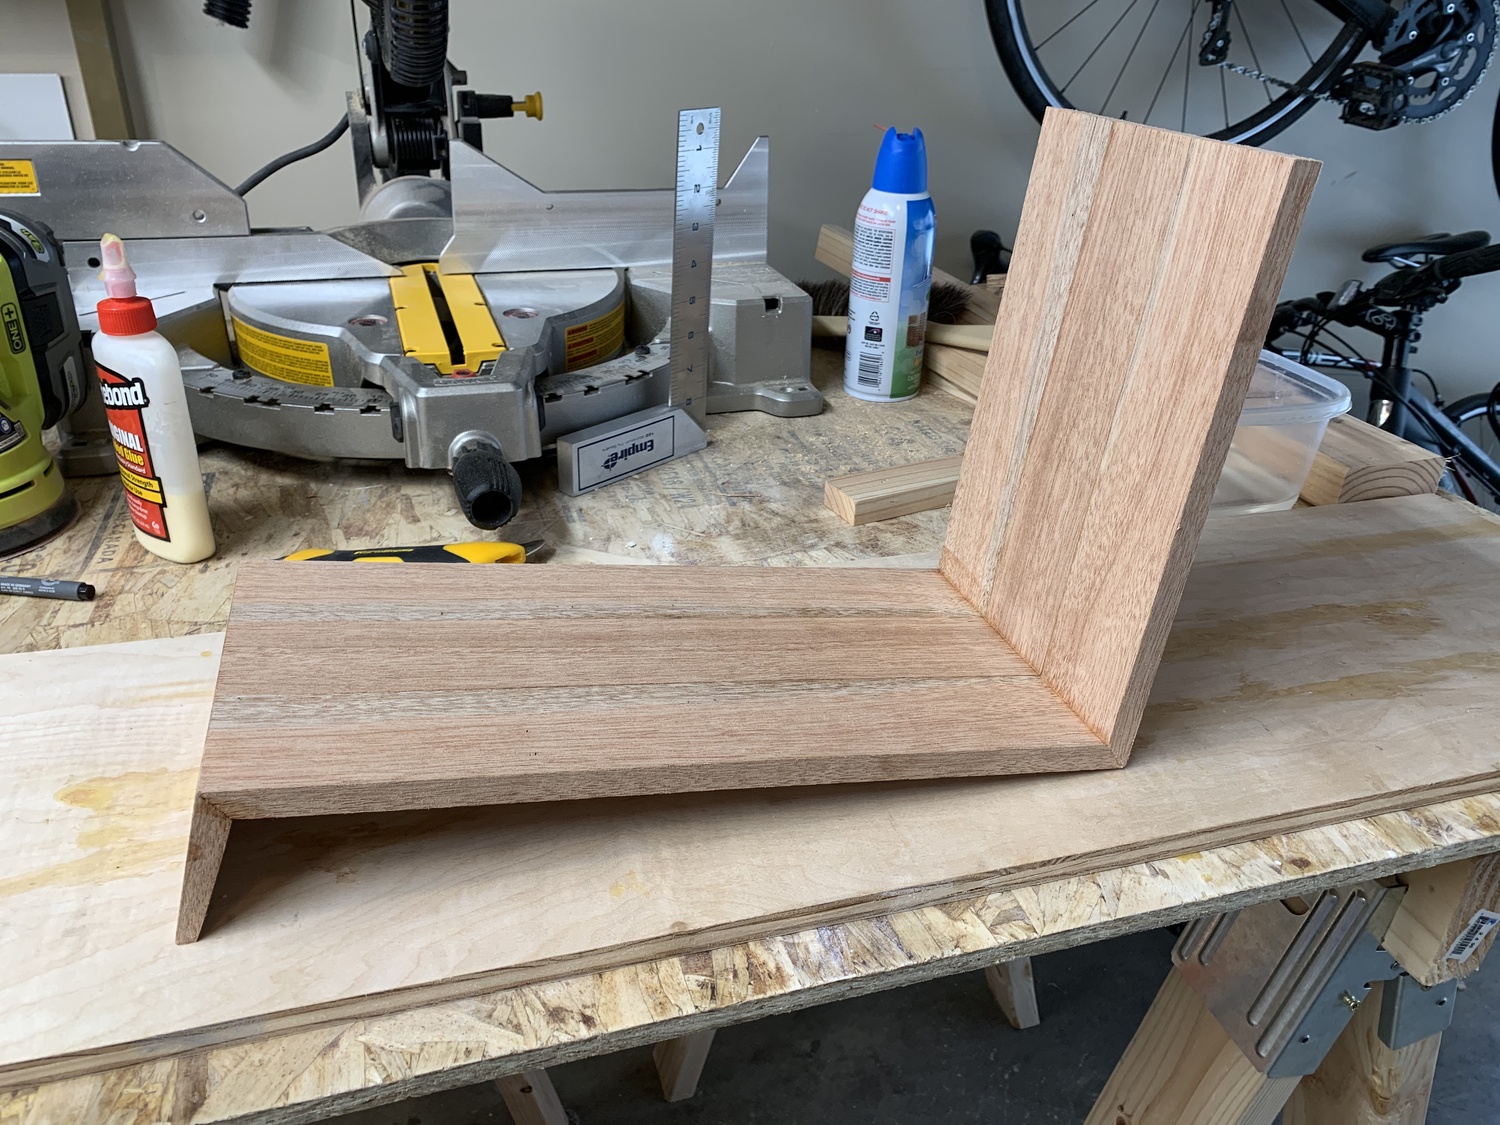
Here’s the boards dry-fit together, so I could get an idea of the proportions.
Tapering the Foot
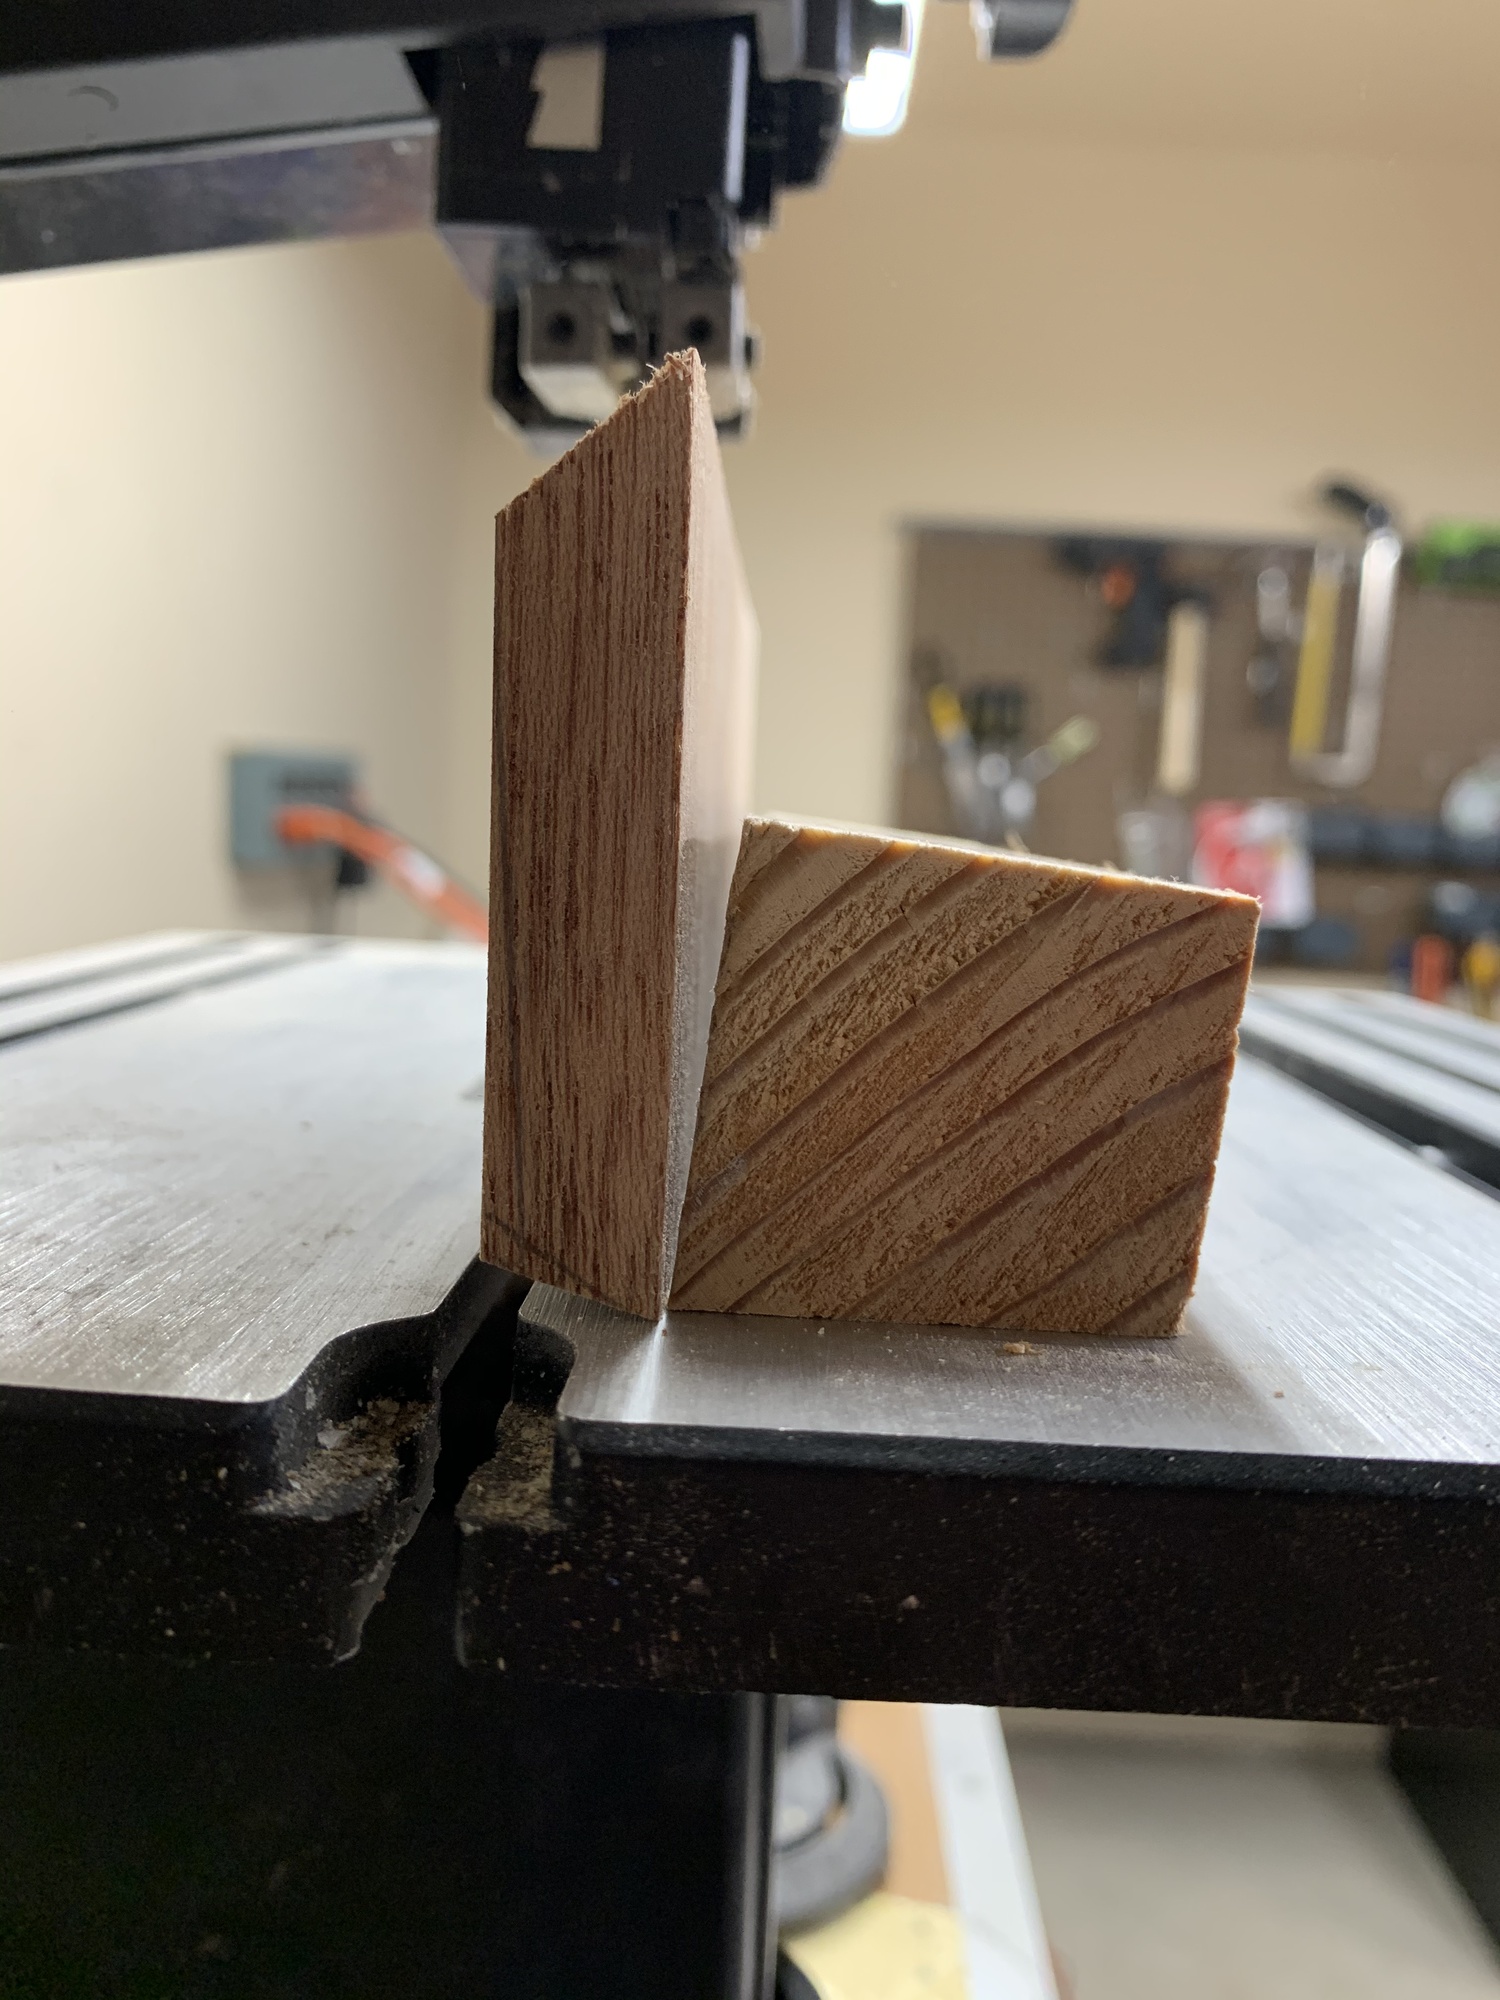
The next step was cutting the foot to create the taper. This was done by making a jig for the bandsaw. I cut a piece of scrap at a 4 degree angle, which the foot could rest against while having a sliver taken off of it.
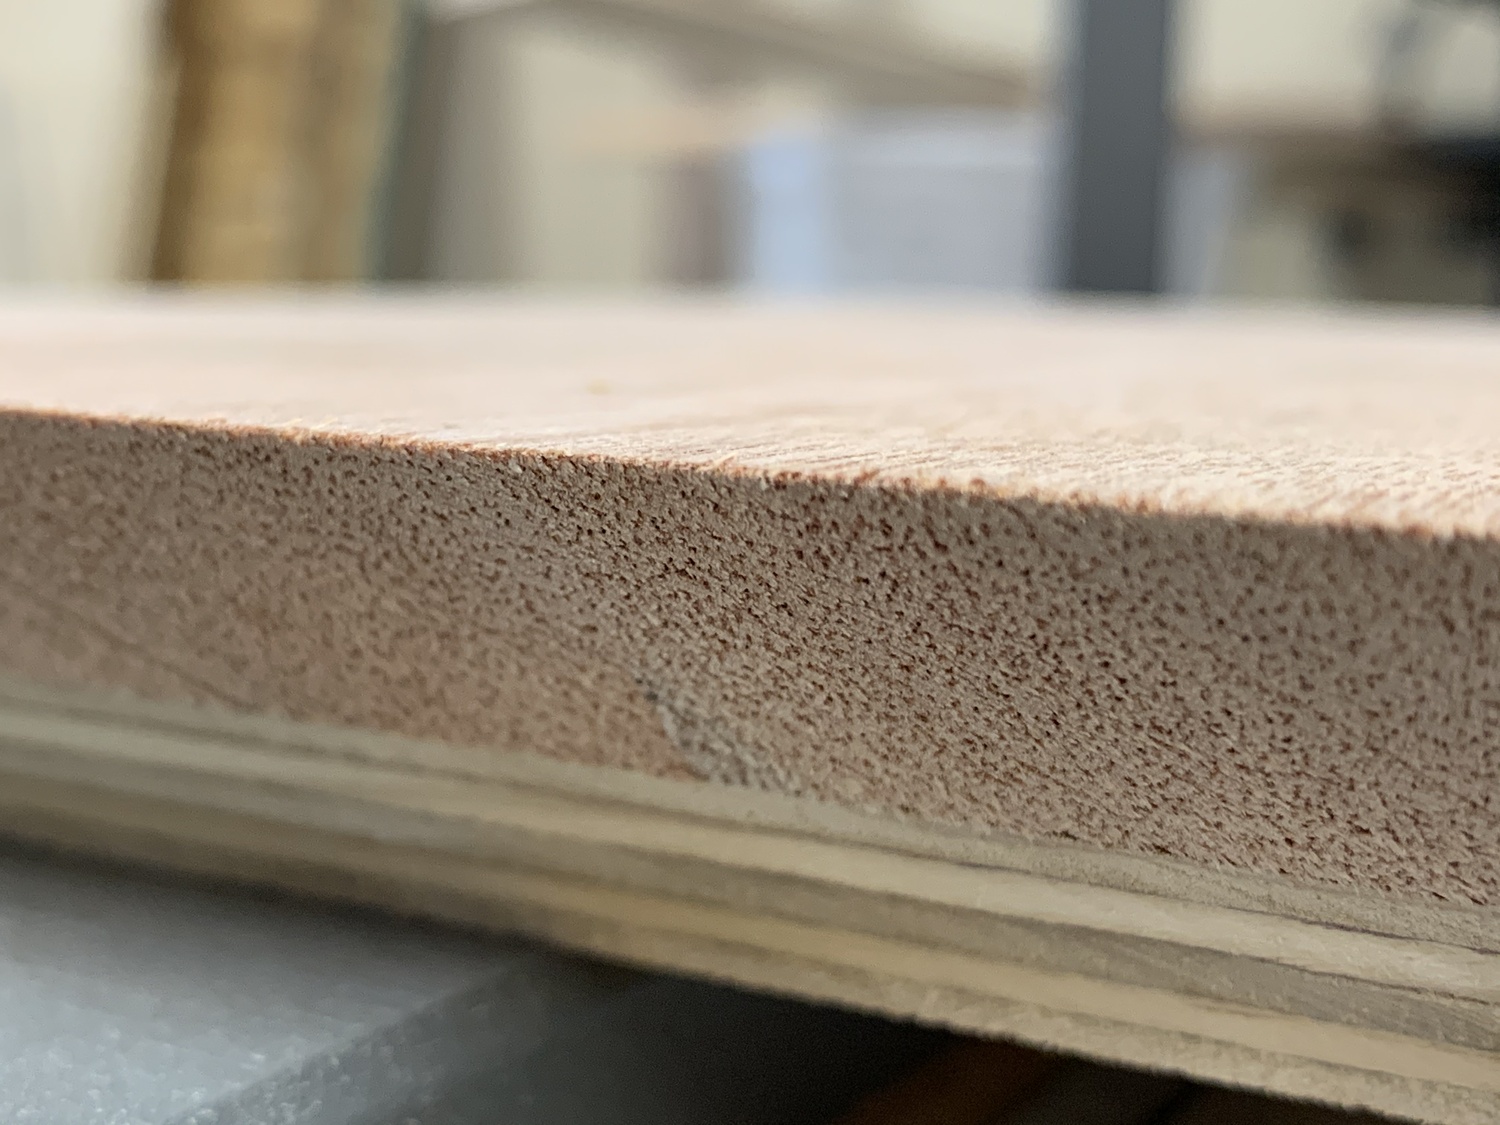
I erred on the side of caution, and took off less than needed. This turned out to be a good call—the bandsaw is exceptionally hard to get a clean cut with, especially at this very shallow angle. I sanded down off the remaining material, resulting in a flat surface.
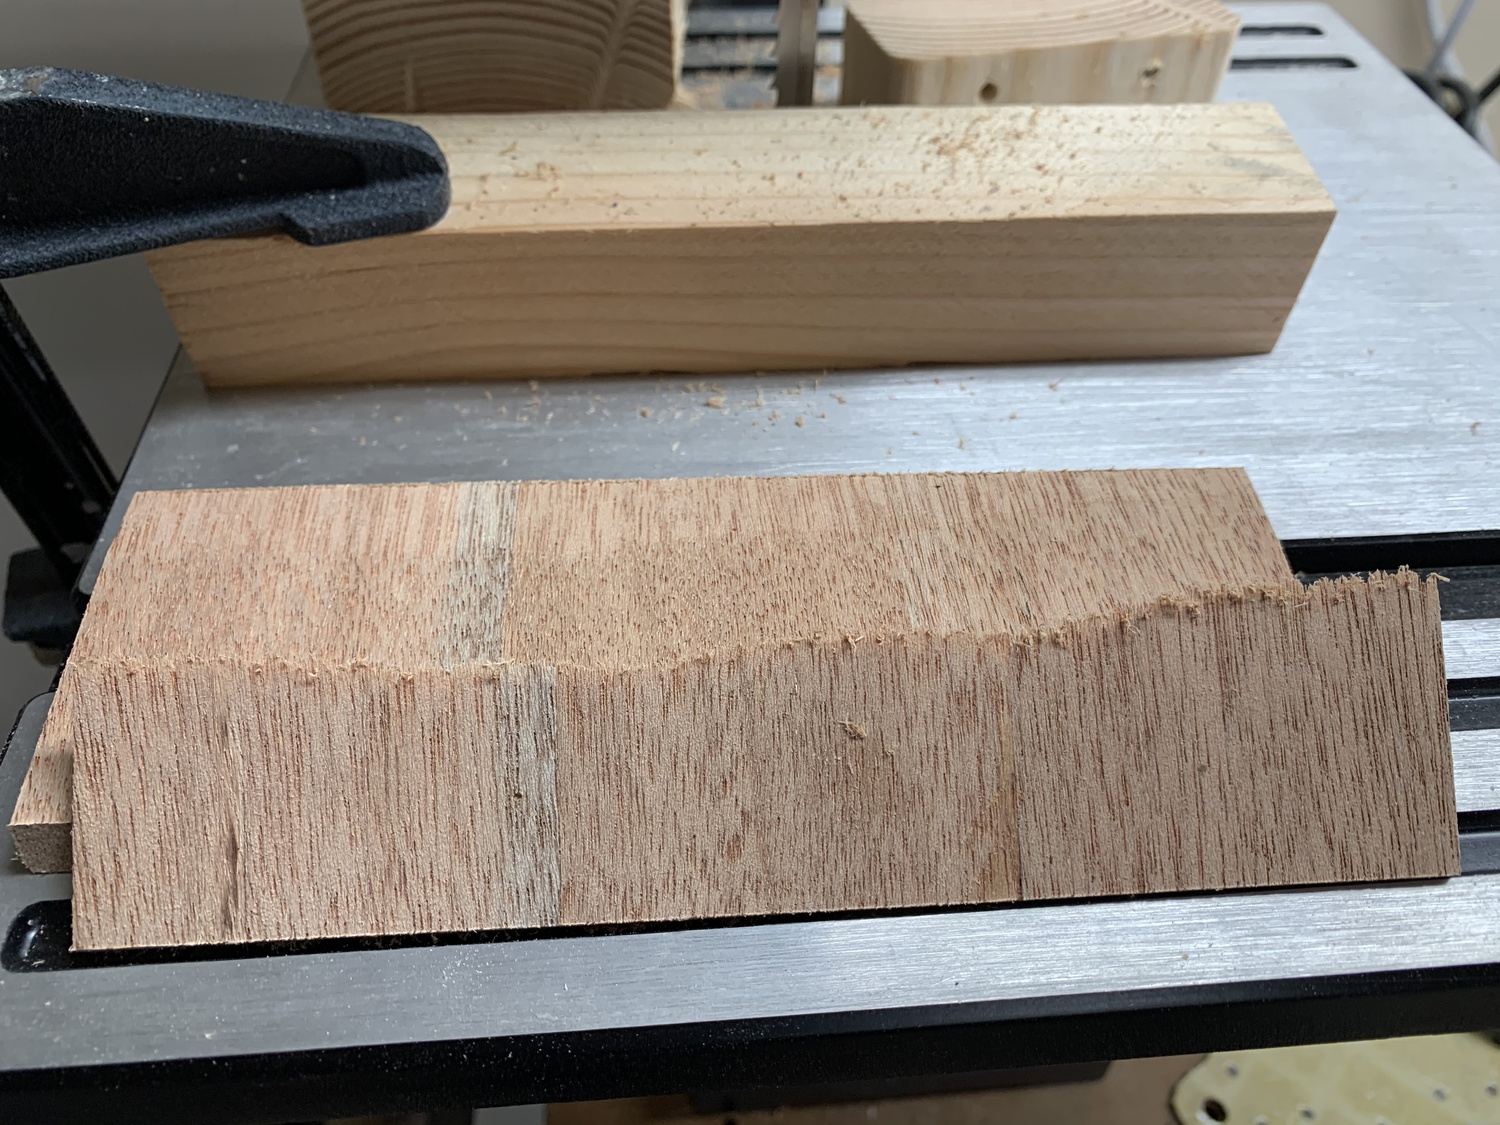
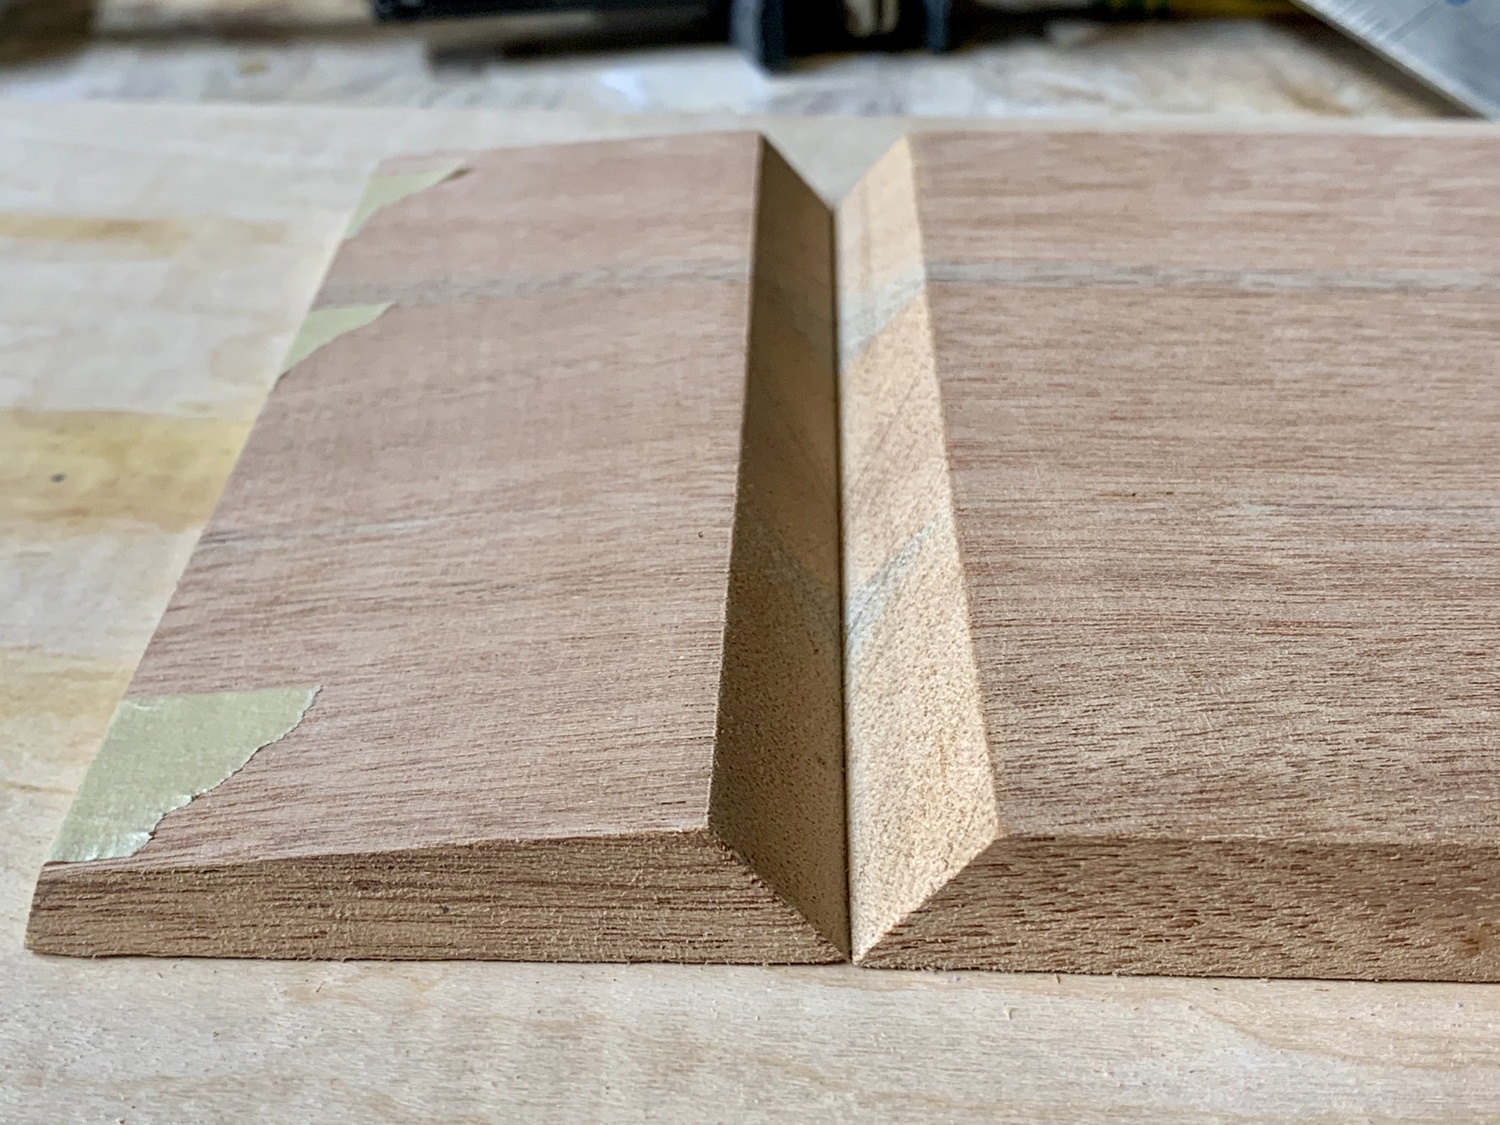
It looked like there was quite a bit of material to remove, but it went surprisingly quick with sandpaper taped down on a flat surface.

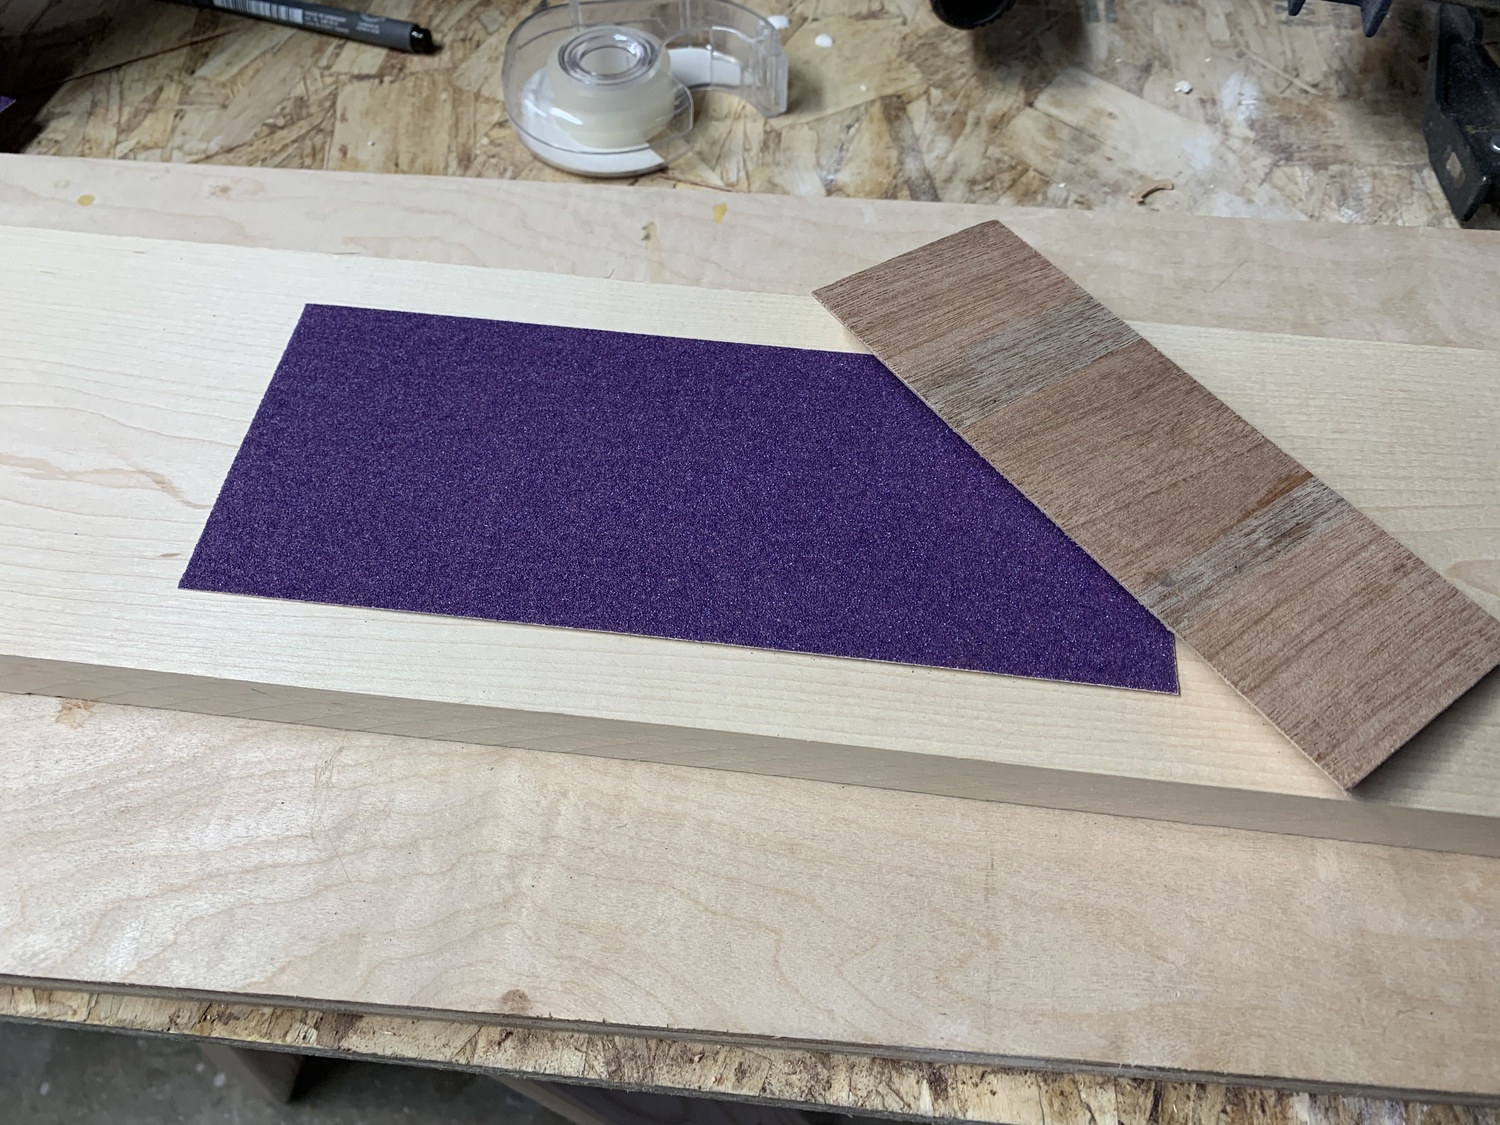
The final result was a flat surface, with sharp, straight edges that join up nicely.

Glue Up
More tape, and the first joint is glued up with light pressure from some clamps.
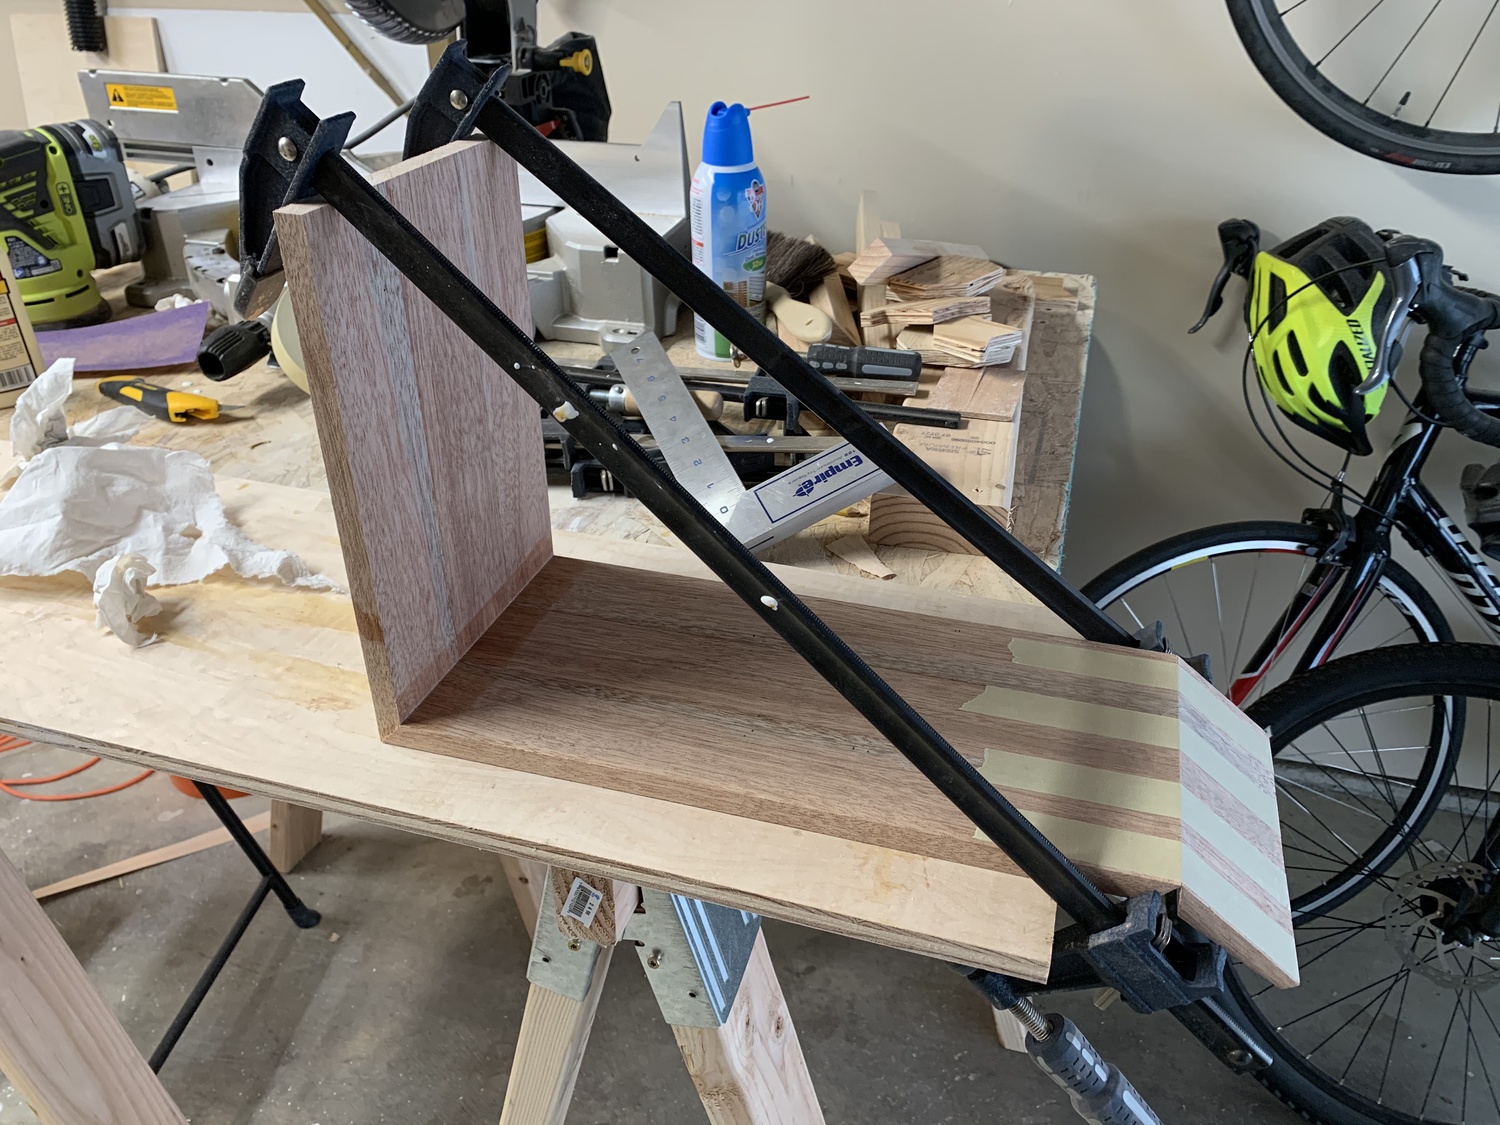
All glued up!
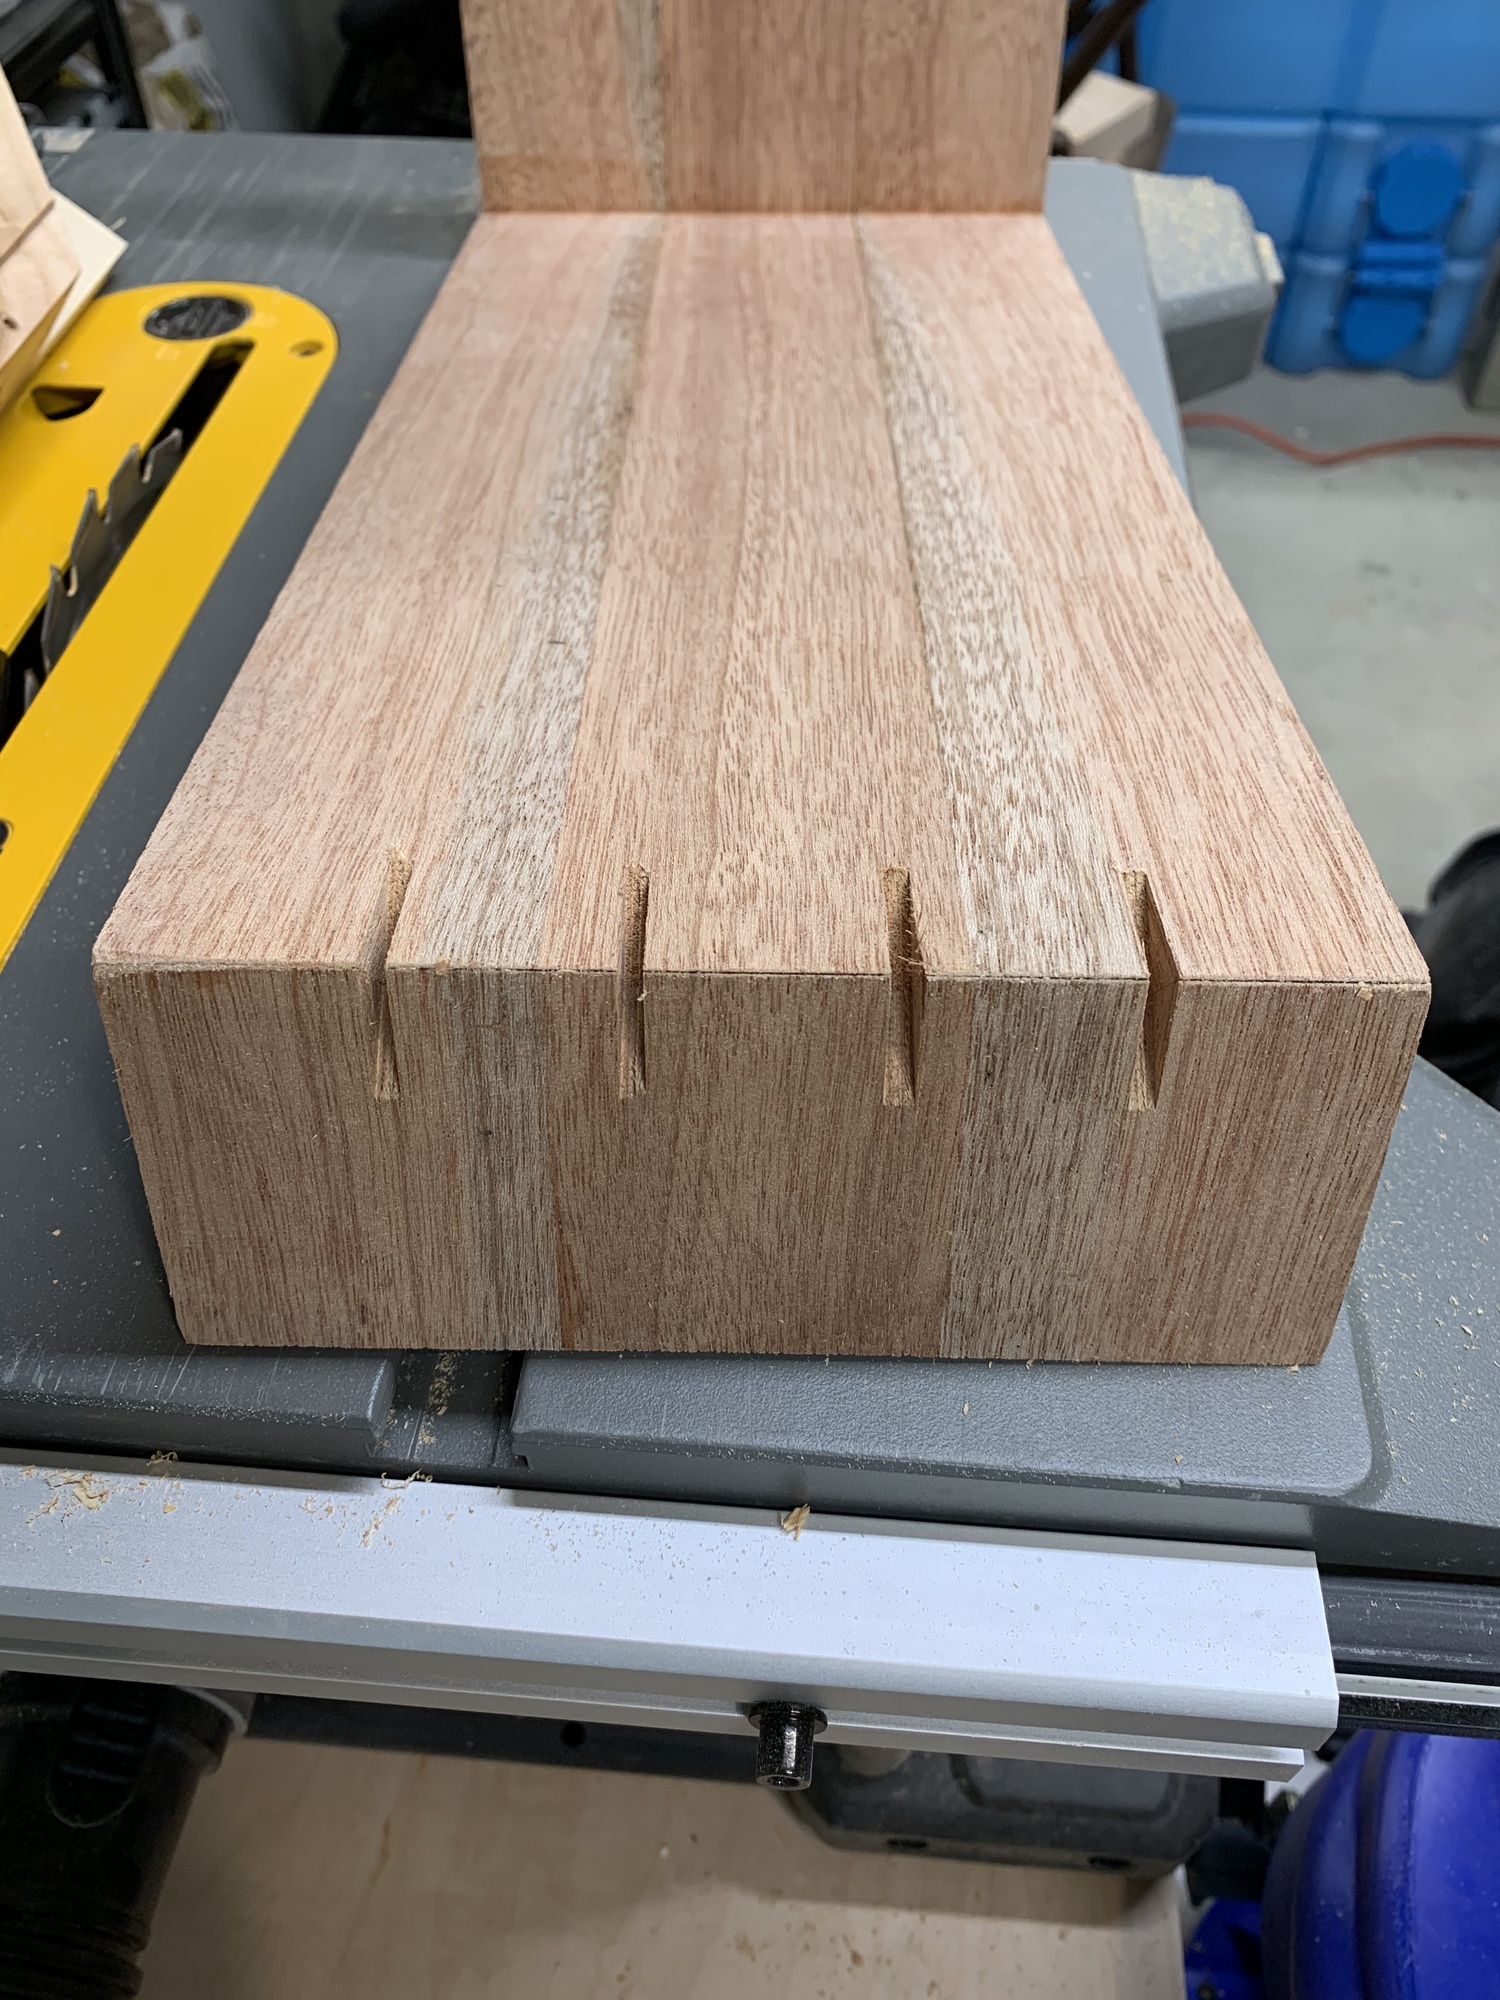
Cutting Slots for the Miter Splines
These glue joints are certainly strong enough to withstand vinyl records, but I think it would be nice to make it a bit more durable. On top of that, end-grain glue joints are the weakest of the bunch, because the wood grain wicks the glue up into its straw-like structure. So, it’s prudent to add some heft. Splining the miter joints with a lighter wood will also give a contrasting look against the darker mahogany.
I made a jig that rests against the table saw fence and holds the workpiece at an angle, to give repeatable cuts through the joint. It worked decently, although there was some small variation in the cut angle and width. I’d add more heft to keep it more square in a version 2.

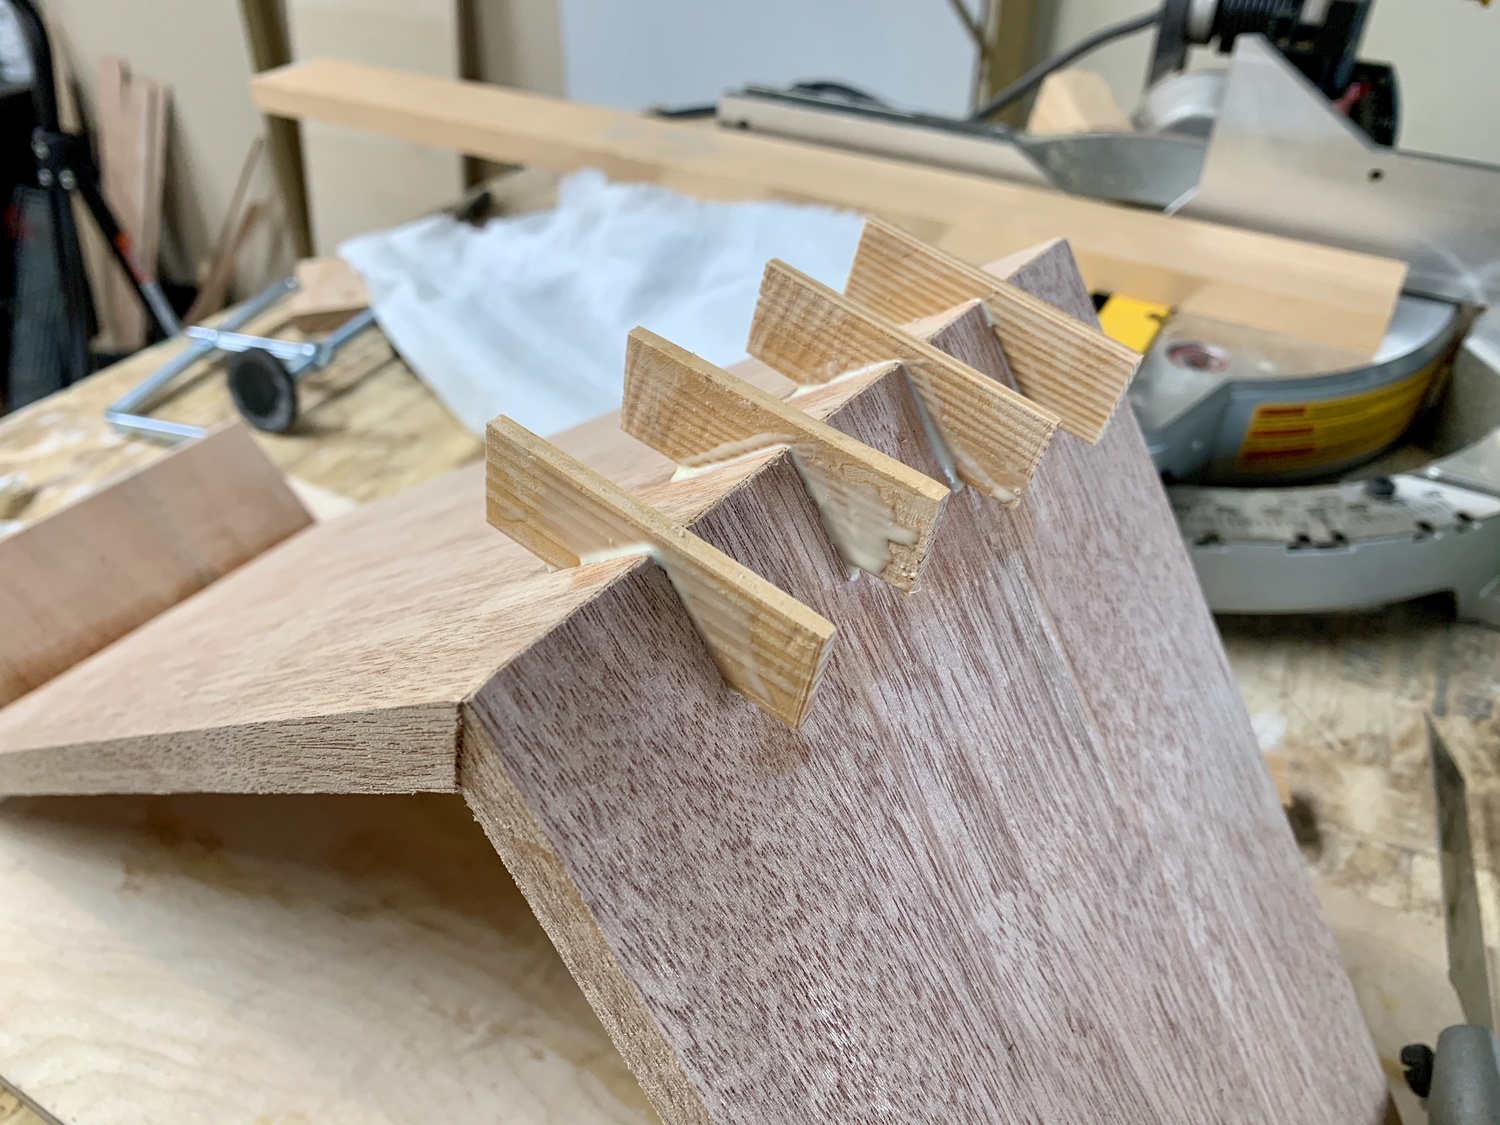
I ripped some thin strips of a lighter looking wood (I think it’s pine) on the bandsaw, and sanded it down until I got a snug fit on each spline. Liberal application of wood glue means the spline will keep this joint from going anywhere.
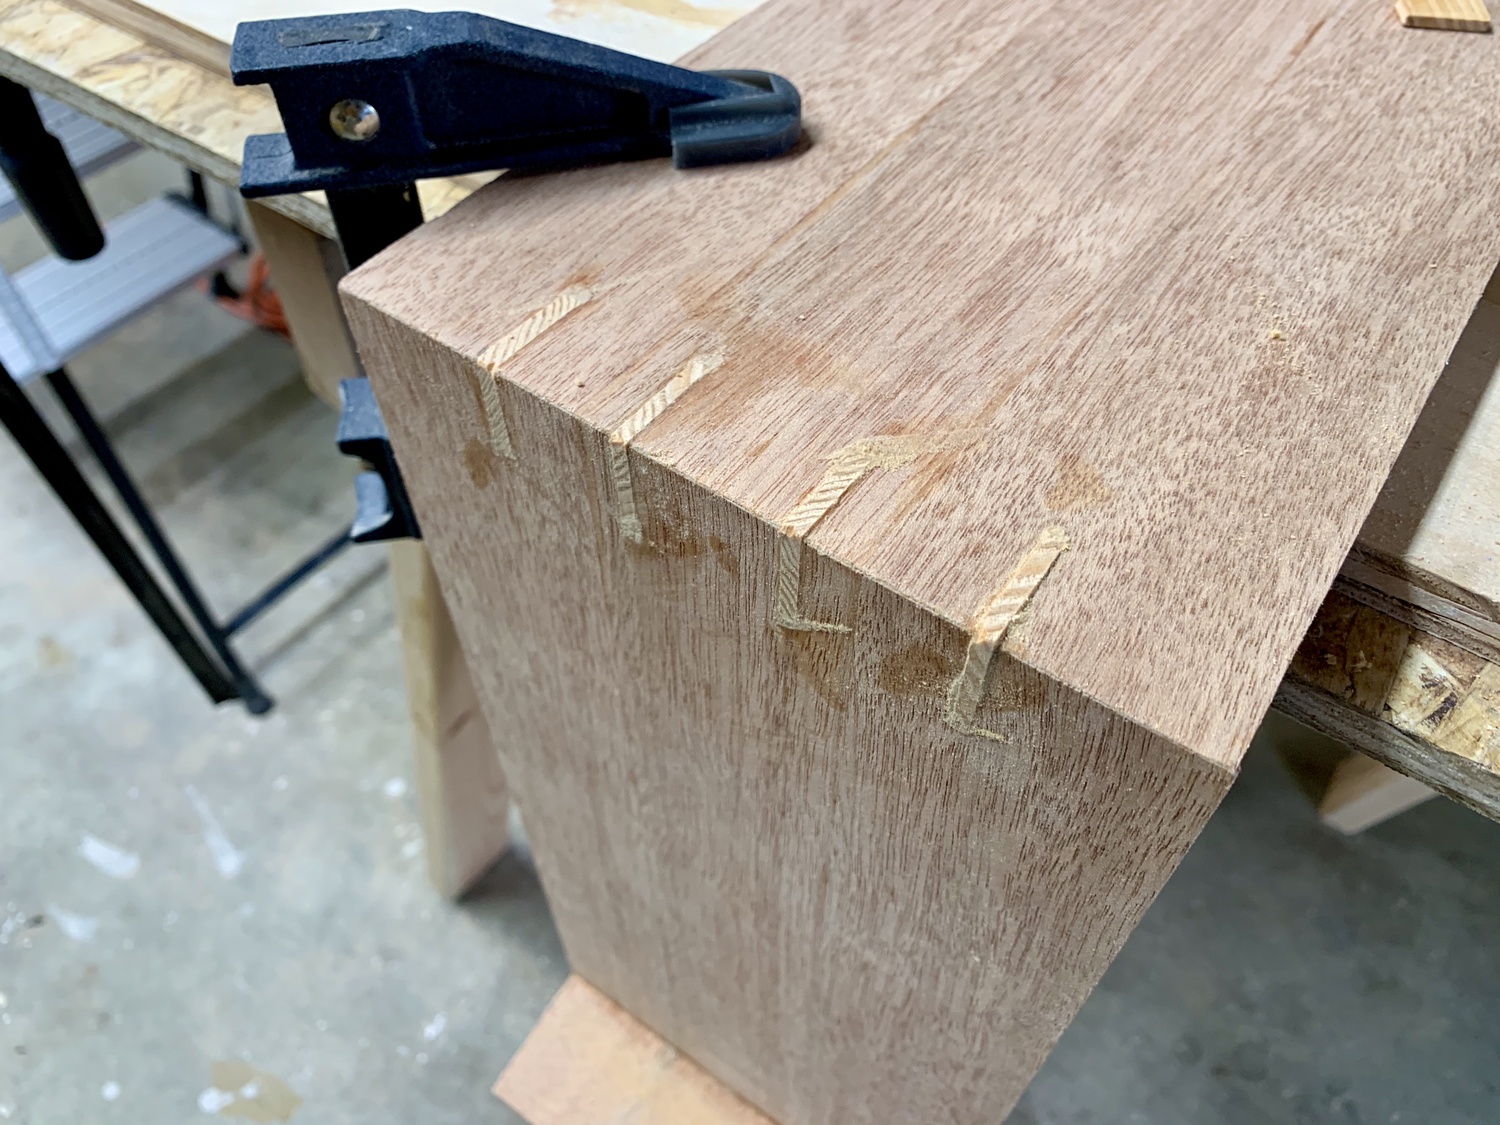
Once dry, the splines are flush cut with the rest of the stand.
Sanding & Finishing
I sanded down all the sharp corners of the stand, and then continued the sanding progression down to 800 grit. A few coats of Tung oil really brought out color of the mahogany, and I’m reasonably pleased with how the lighter wood contrasts with it.
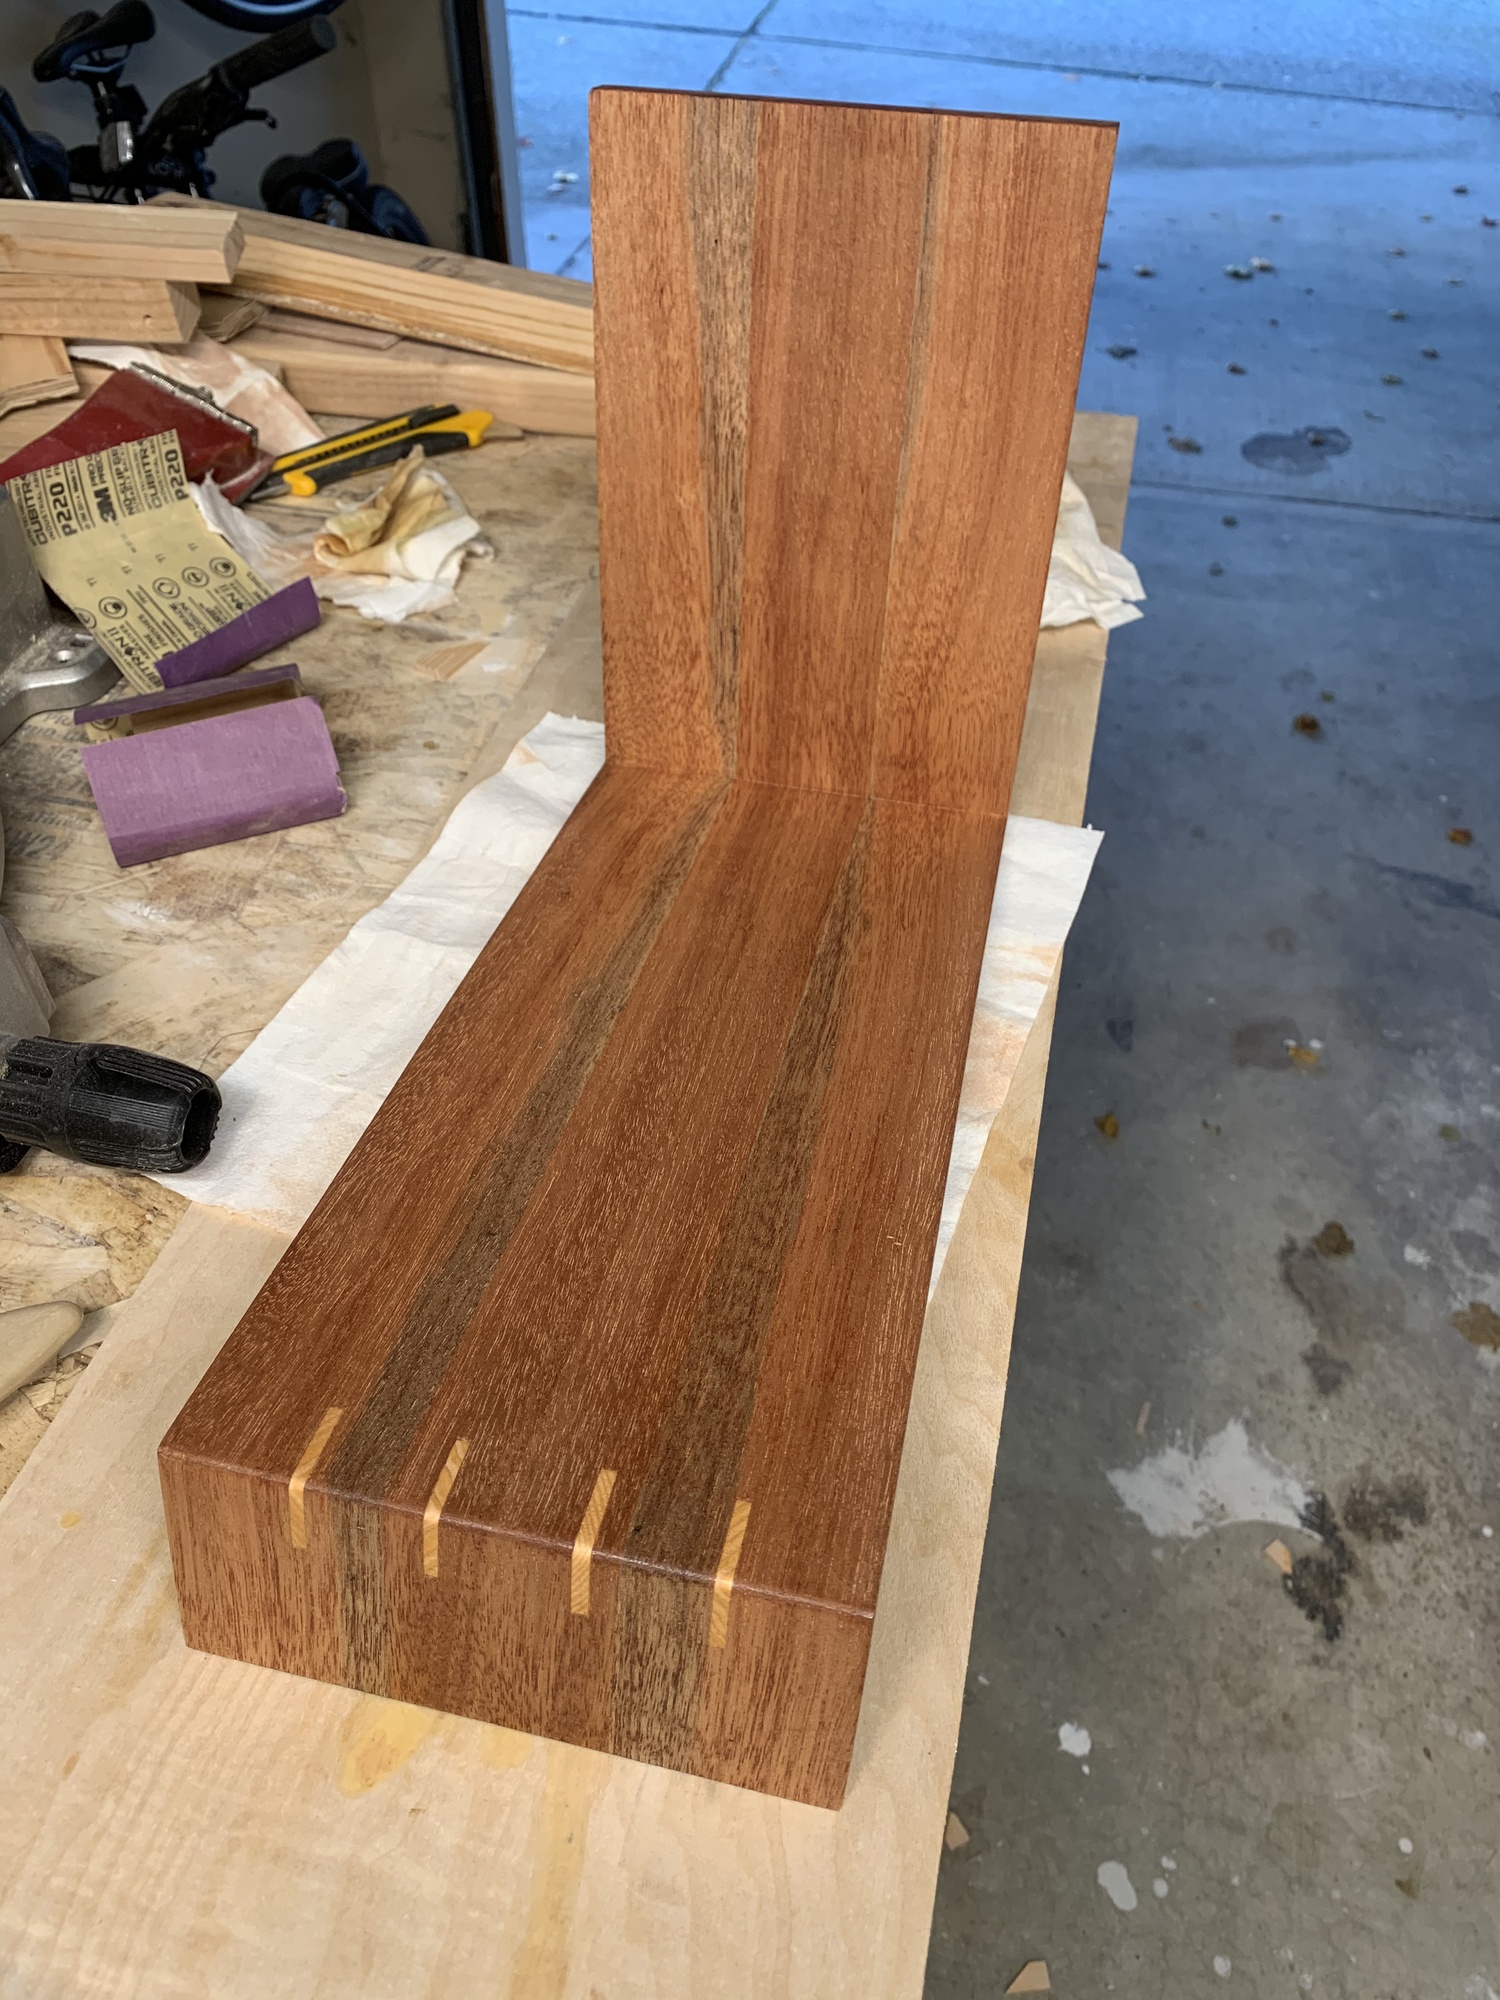
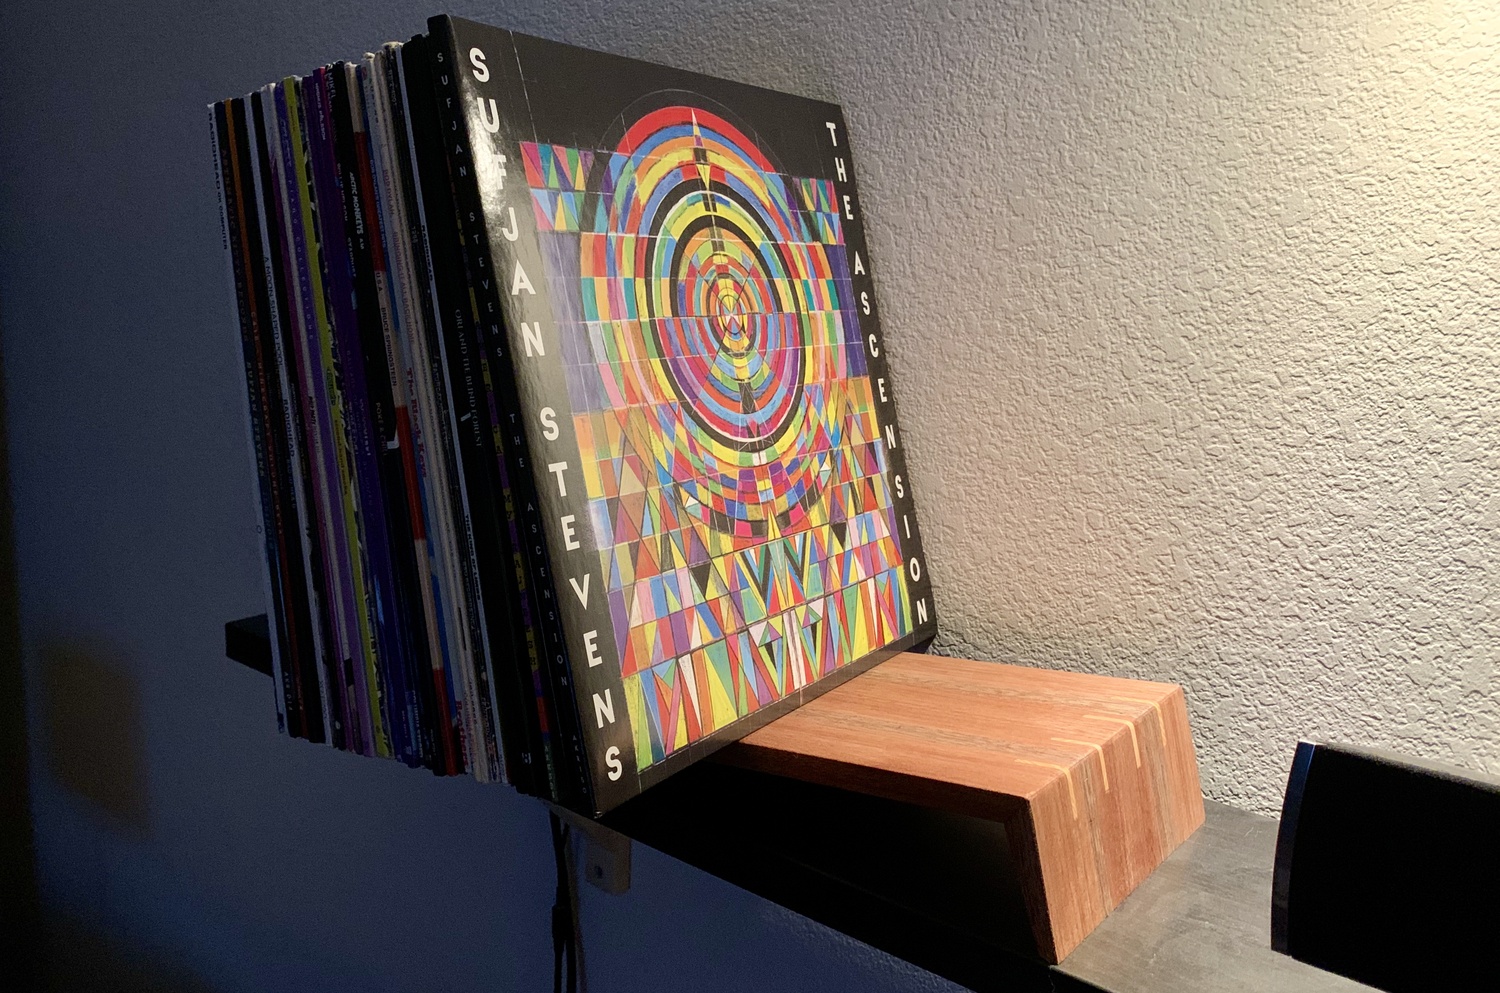
I think the final result looks quite nice! And it holds records too, which is a plus.